


Maximize donations with Givelify! Our mobile giving app helps donors discover, donate, and support your organization’s mission.
To sign up your 501(c)3 nonprofit, follow these steps:
1. On your computer, visit signup.givelify.com and click the Sign up my organization to receive donations button.
2. Select Start to get your organization signed up.
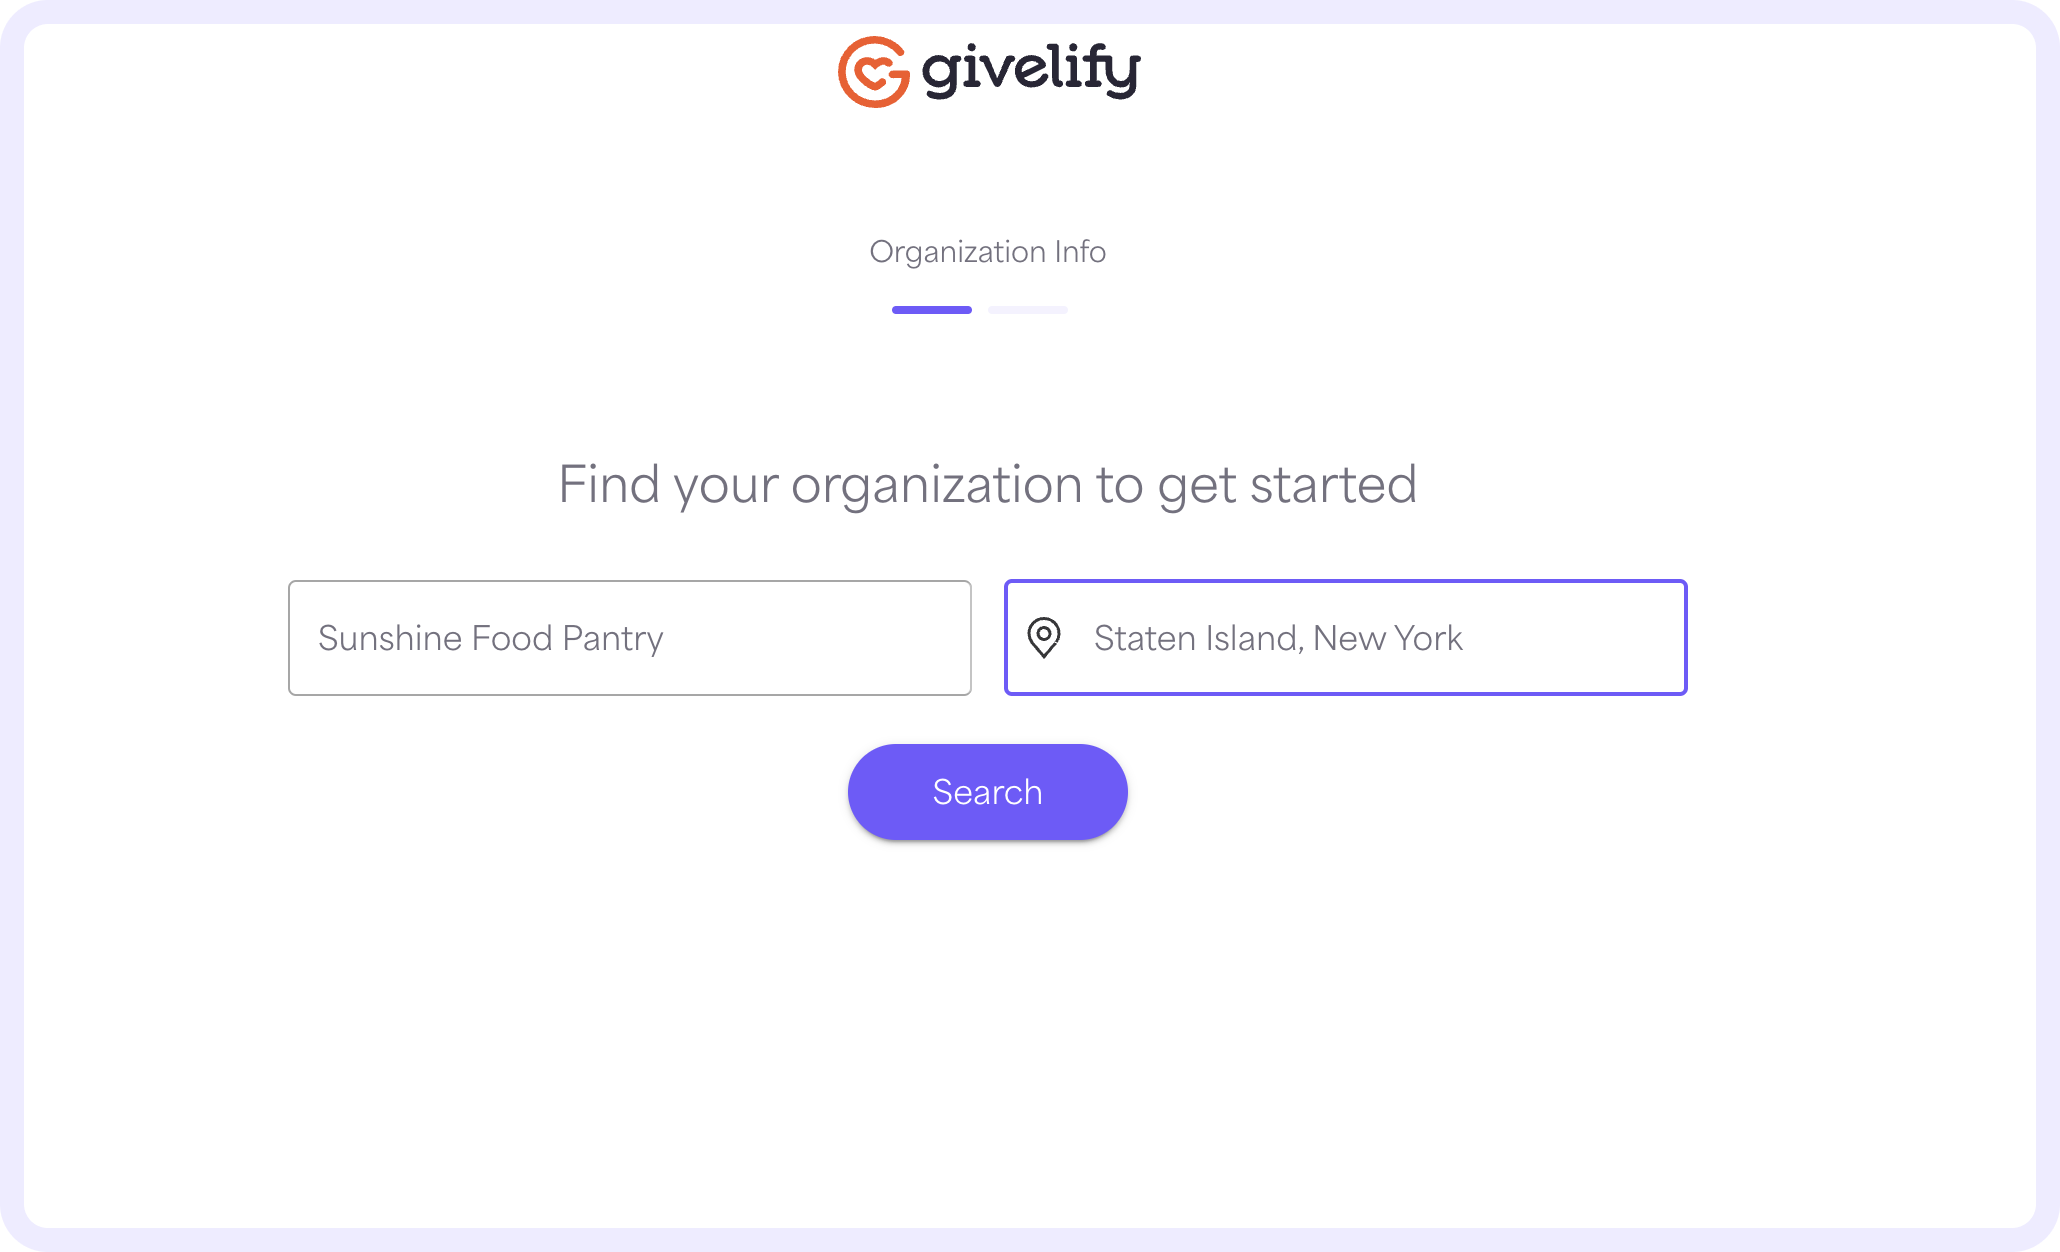
3. Enter your Organization name and the City, State where your organization is located. Then, select Search.
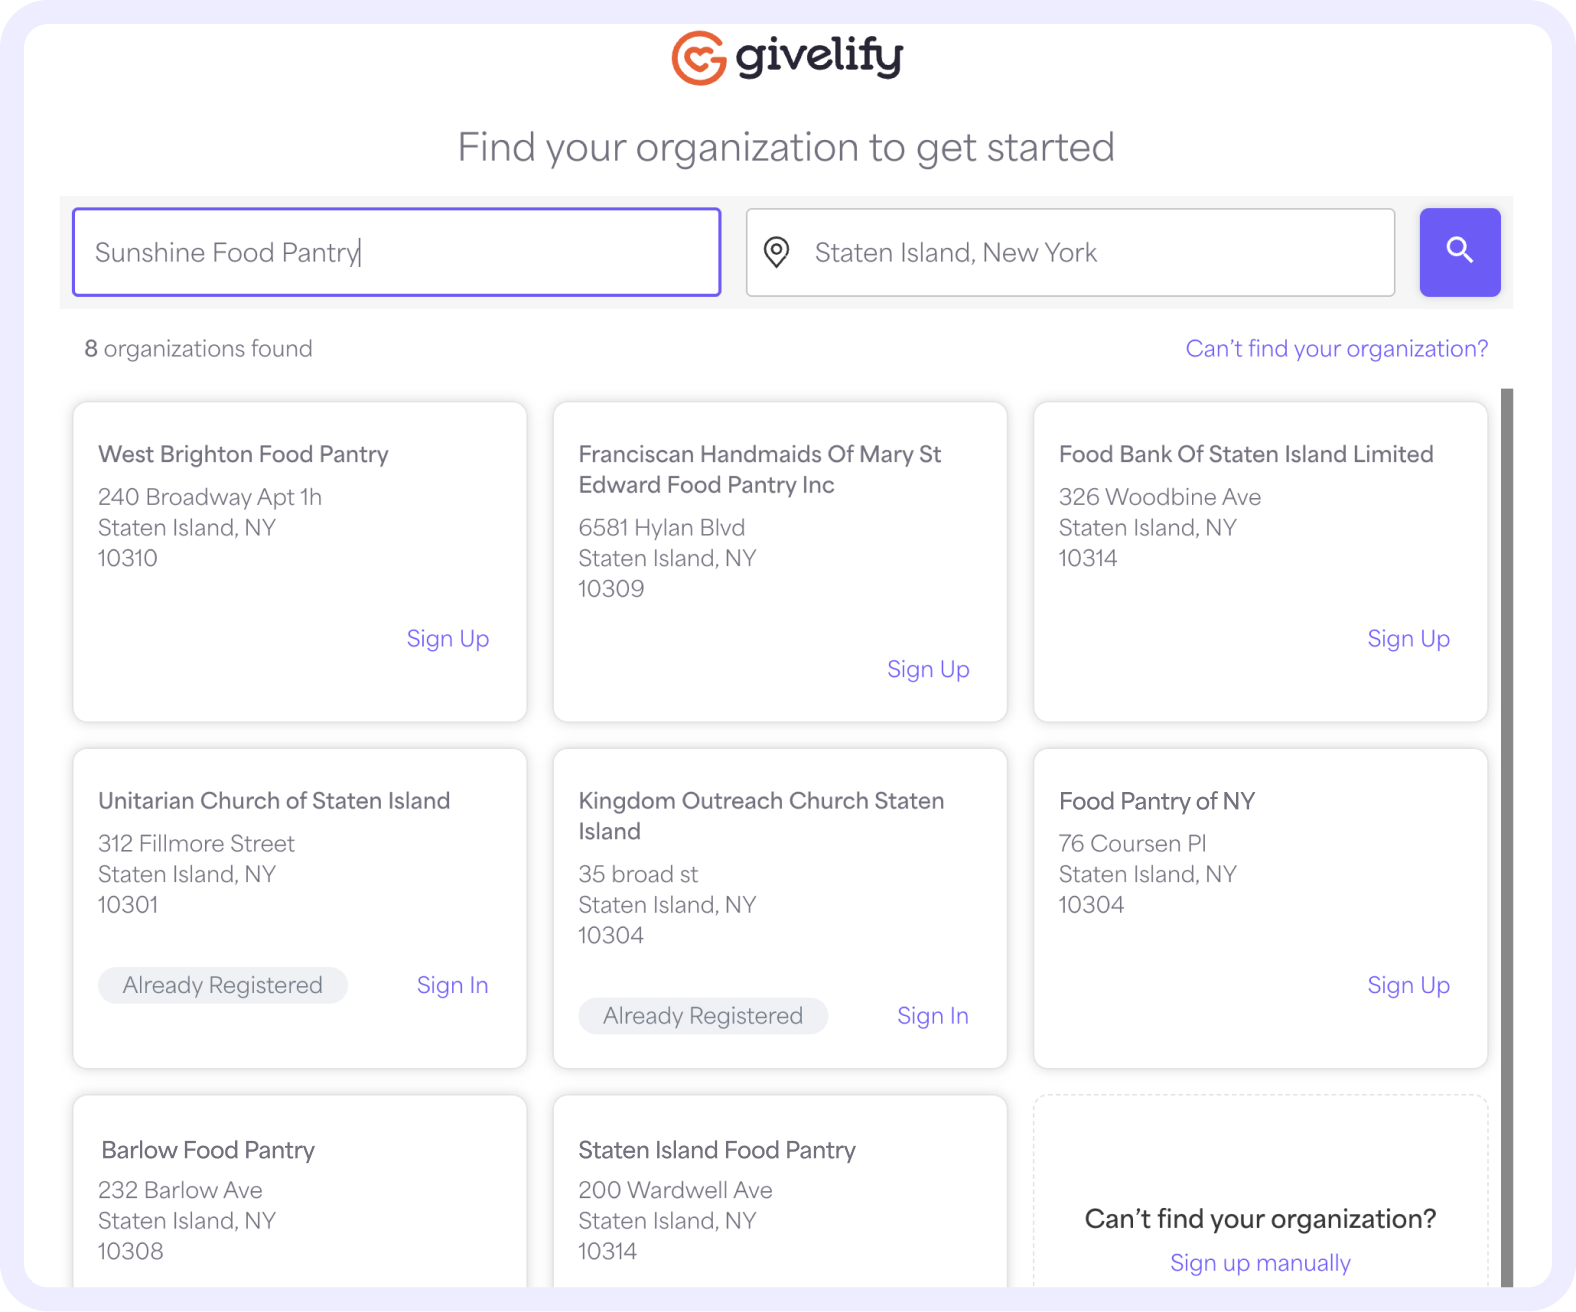
4. From the list of results, find your organization and click the Sign Up button on the organization tile.
5. Verify the information listed under Is this your organization? Check the box indicating you have authority to execute a contract on behalf of your organization. Then, click the This is My Organization button.

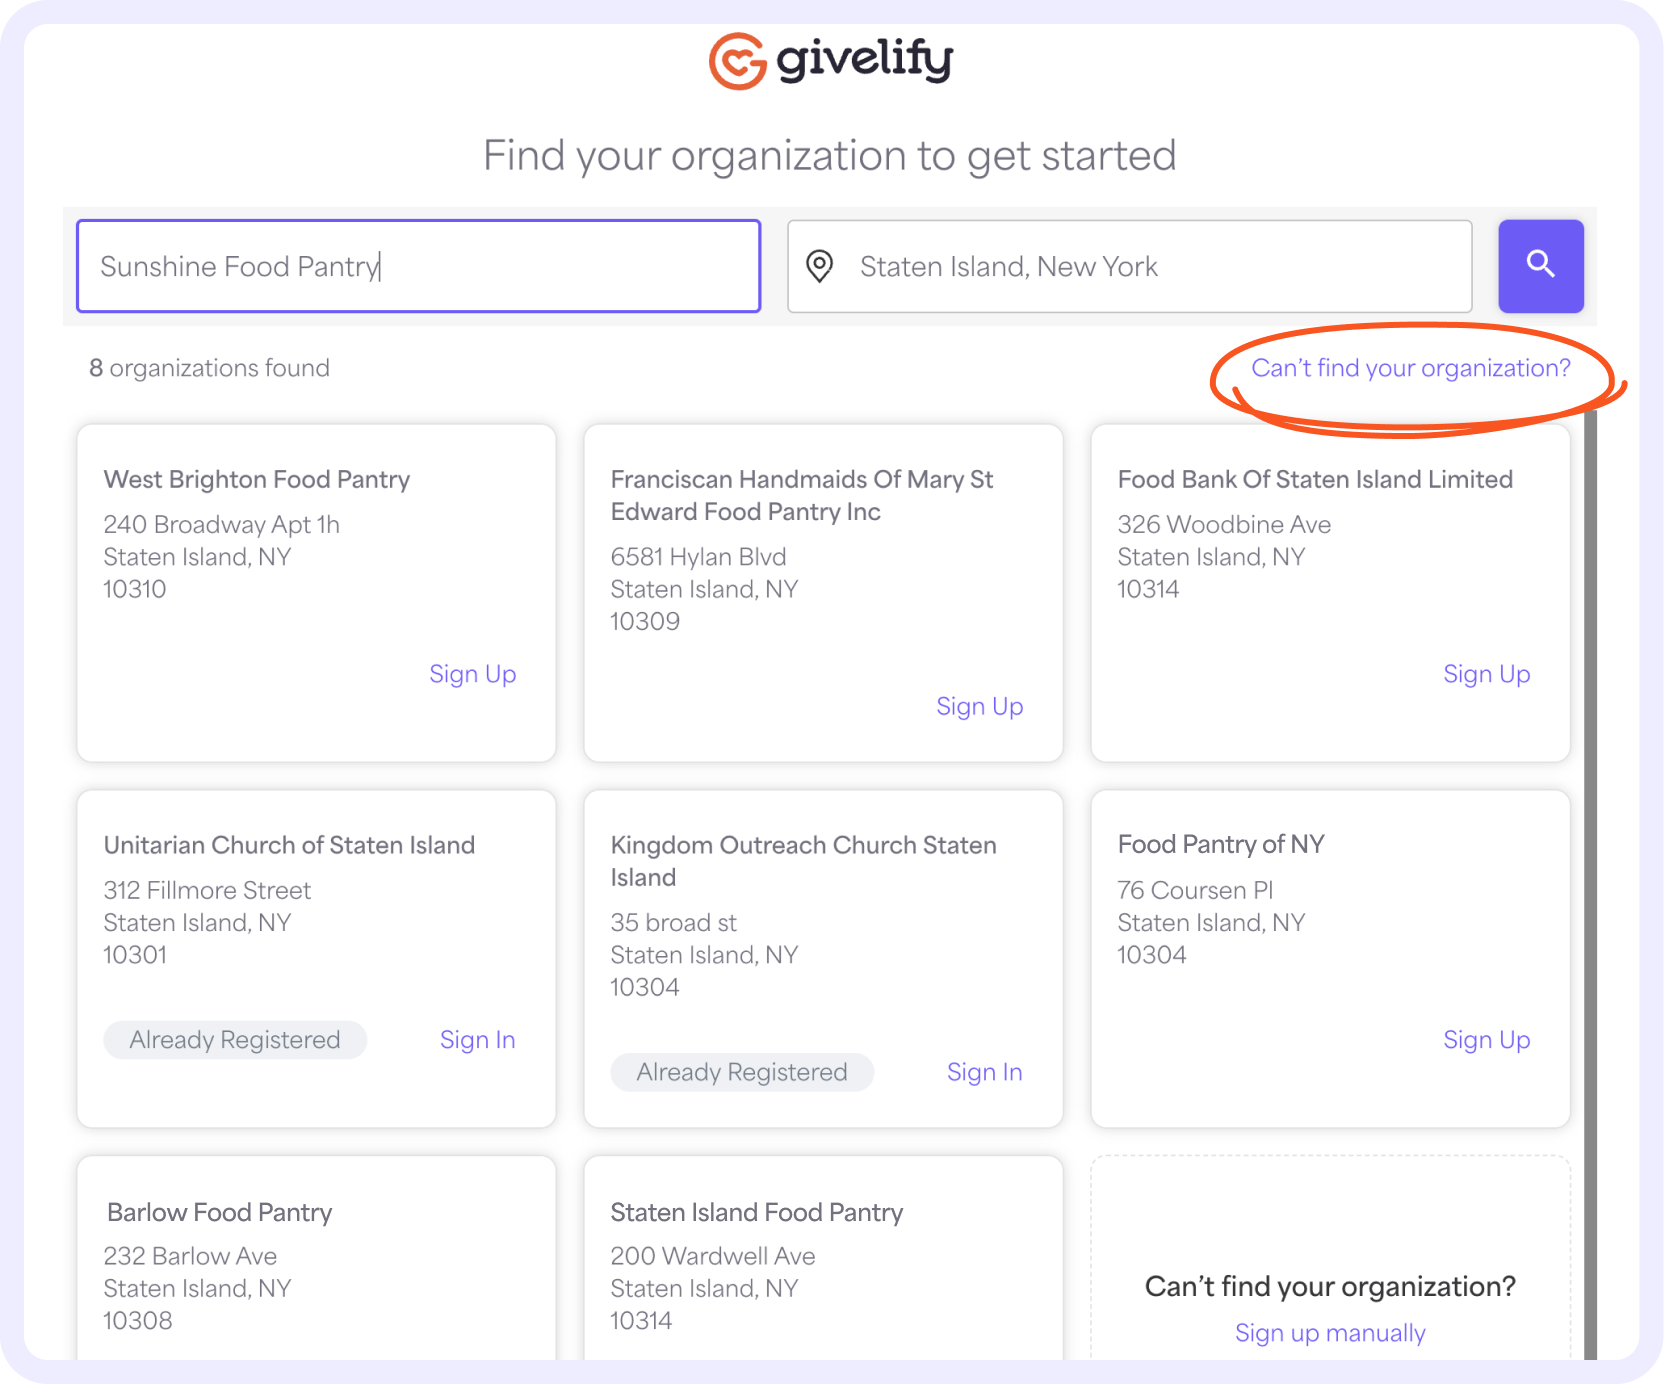
6. If you’re unable to find your organization in the search results, select Can’t find your organization? link in the upper right corner below the search bar.
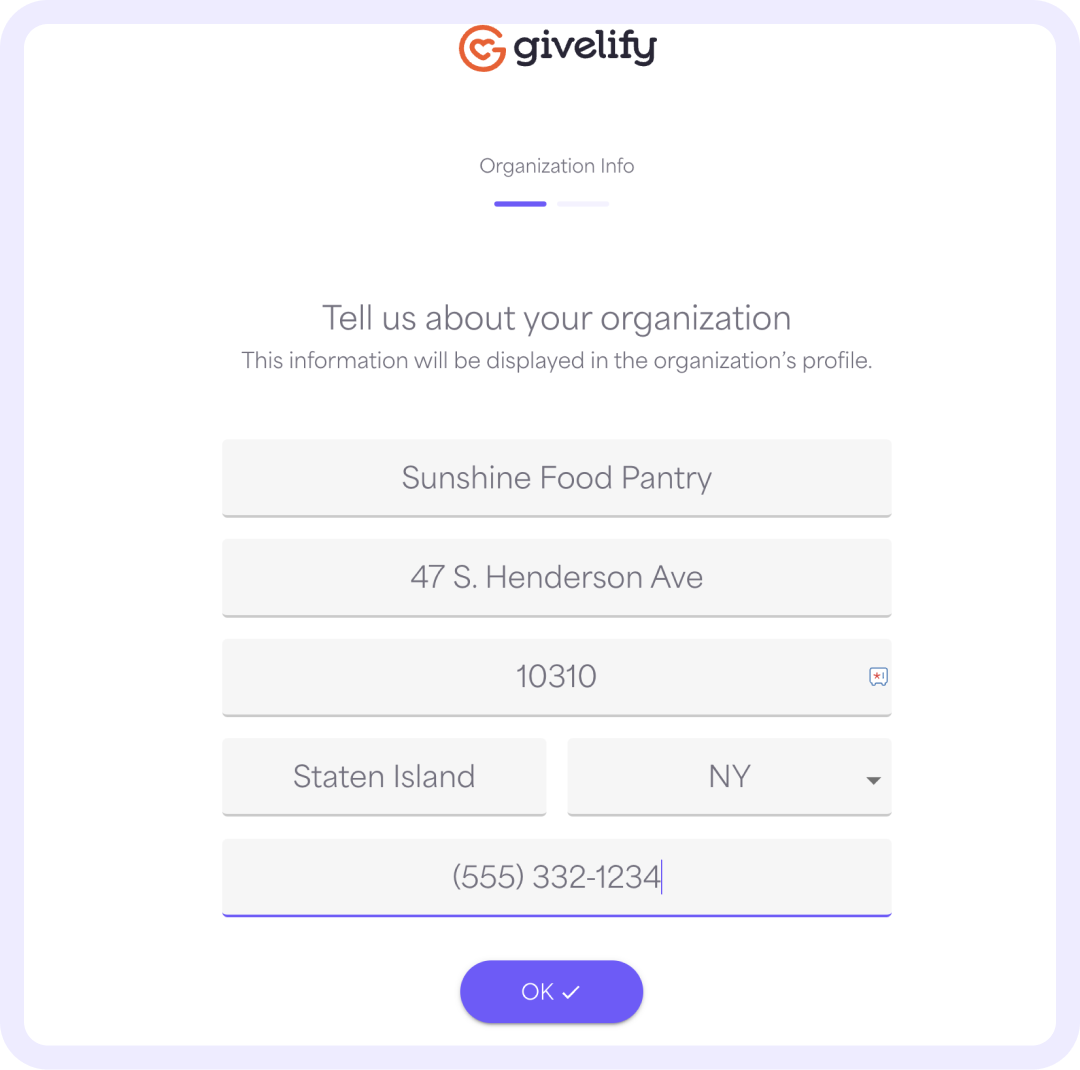
7. Under Tell us about your organization, enter the Name, Street address, Zip code, City, State, and Phone number of your nonprofit. Select OK.
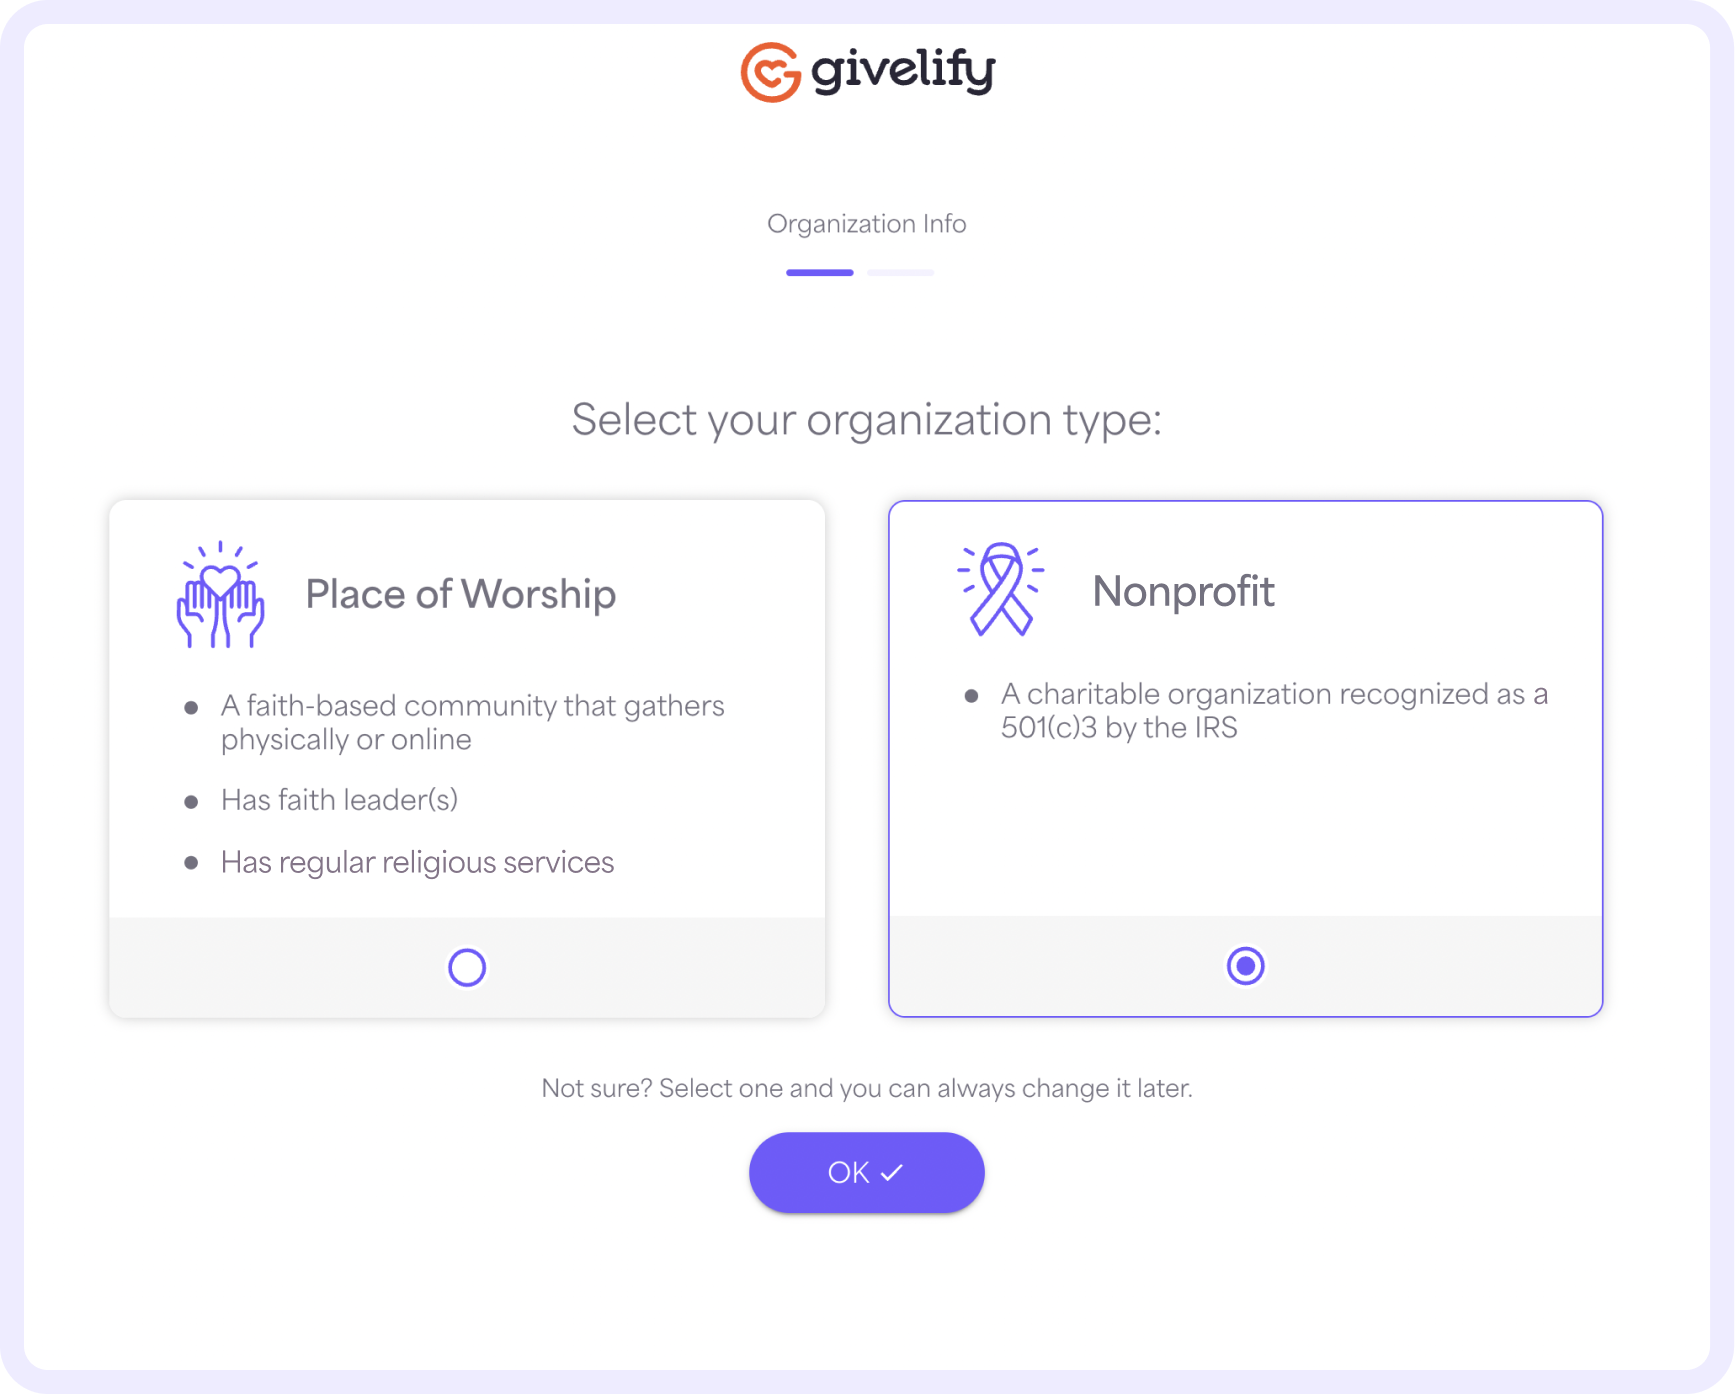
8. Select Nonprofit for your organization type and press OK.
9. Next, enter your information.
- Enter your First and Last name and select OK.
- Enter your Title and select OK.
- Enter the Email address you want associated with your account and select OK.
- Enter your personal Phone number and select OK.
- Verify your information and select Continue. If you need to make any changes, select Edit.
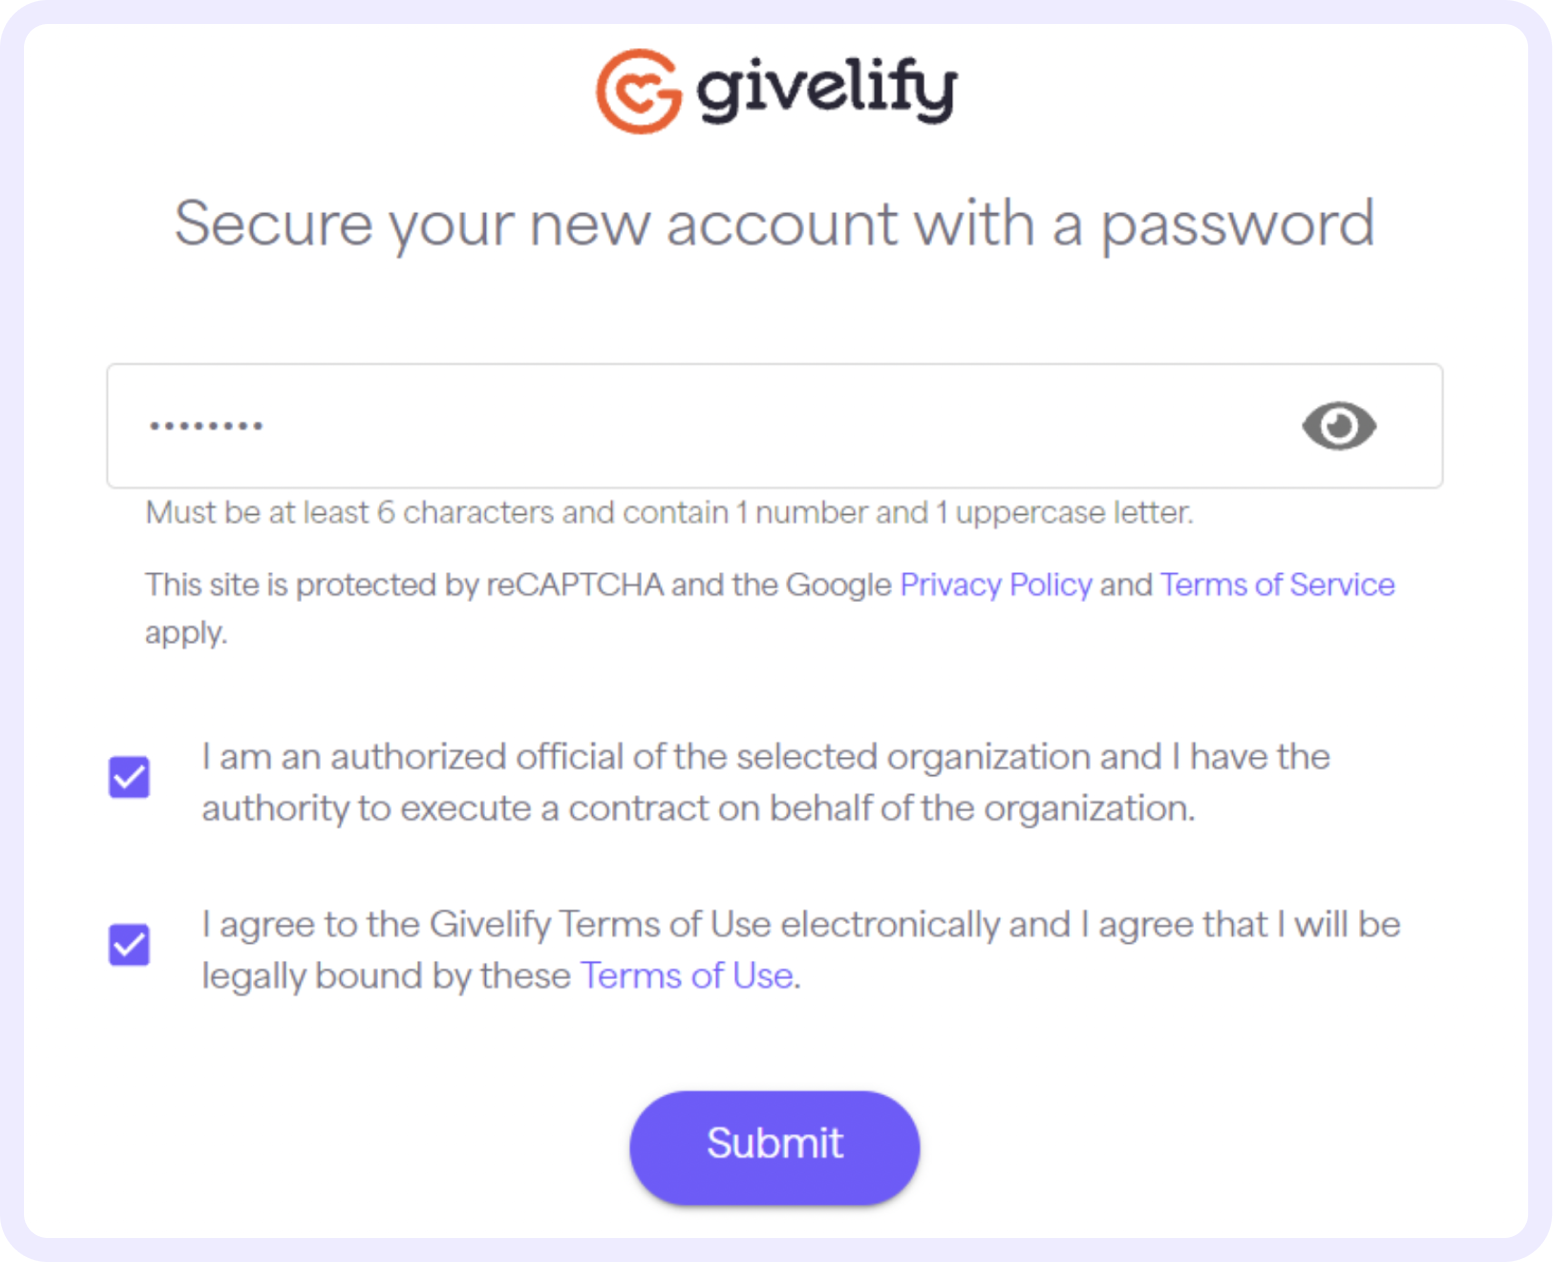
10. Enter a password to log into your account. Click the check boxes to confirm that you are an authorized official of the organization and that you agree to Givelify’s Terms of Use. Select Submit.
11. You will receive an email at the email address provided. Select the link in the email to activate your account. Follow the instructions to continue the setup process.
12. Select Continue to Sign In.
Once your organization is set up, you can add more authorized users so they can access the Givelify account under their own login.
Next steps for setting up your account
Now that you’ve signed up and activated your account, you can begin customizing your app profile.
Log into your account and select Settings at the bottom left of your screen. Then go through the App profile, Bank info, Users, Organization info, and Mission statement tabs to customize your account.
You must first add your organization’s banking information before your account can be verified and start receiving donations.


