


Before you launch Givelify, we recommend making a small test donation to your charity or nonprofit on the mobile app. This ensures your organization’s Givelify account is set up correctly and has received the funds. You’ll also experience the steps donors will go through the first time they donate with Givelify.
How to make a test donation to your nonprofit
Follow these steps:
Download the Givelify app
Download the free mobile giving app from the App Store (iOS) or Google Play (Android). Open the app.
Locate your nonprofit
Search by organization name or use the map to locate your organization based on its physical location.
On your phone, tap the Search tab at the bottom of your screen.
To search by name:
1. Enter the name of your nonprofit or the city or state where your organization is located in the search bar at the top of the screen.
2. Find and select your nonprofit in the list of search results.
To search using the map:
1. Your device must have location services turned on and the Givelify app must have permission to access your location.
2. Only organizations within a two-mile radius of your location will appear on the map. Zoom in and maneuver the map with your fingers to find your nonprofit.
3. Once you’ve found your nonprofit on the map, tap the location pin next to it.
Tap the Give button
Once you find your nonprofit, tap the orange Give button. Then, follow these steps:
1. Select your donation amount or select Other to enter a different amount. Tap OK.
2. Select a campaign.
3. On the Gift Summary screen, you can add an additional donation to other campaigns, add a message to your donation, or set the donation as recurring.
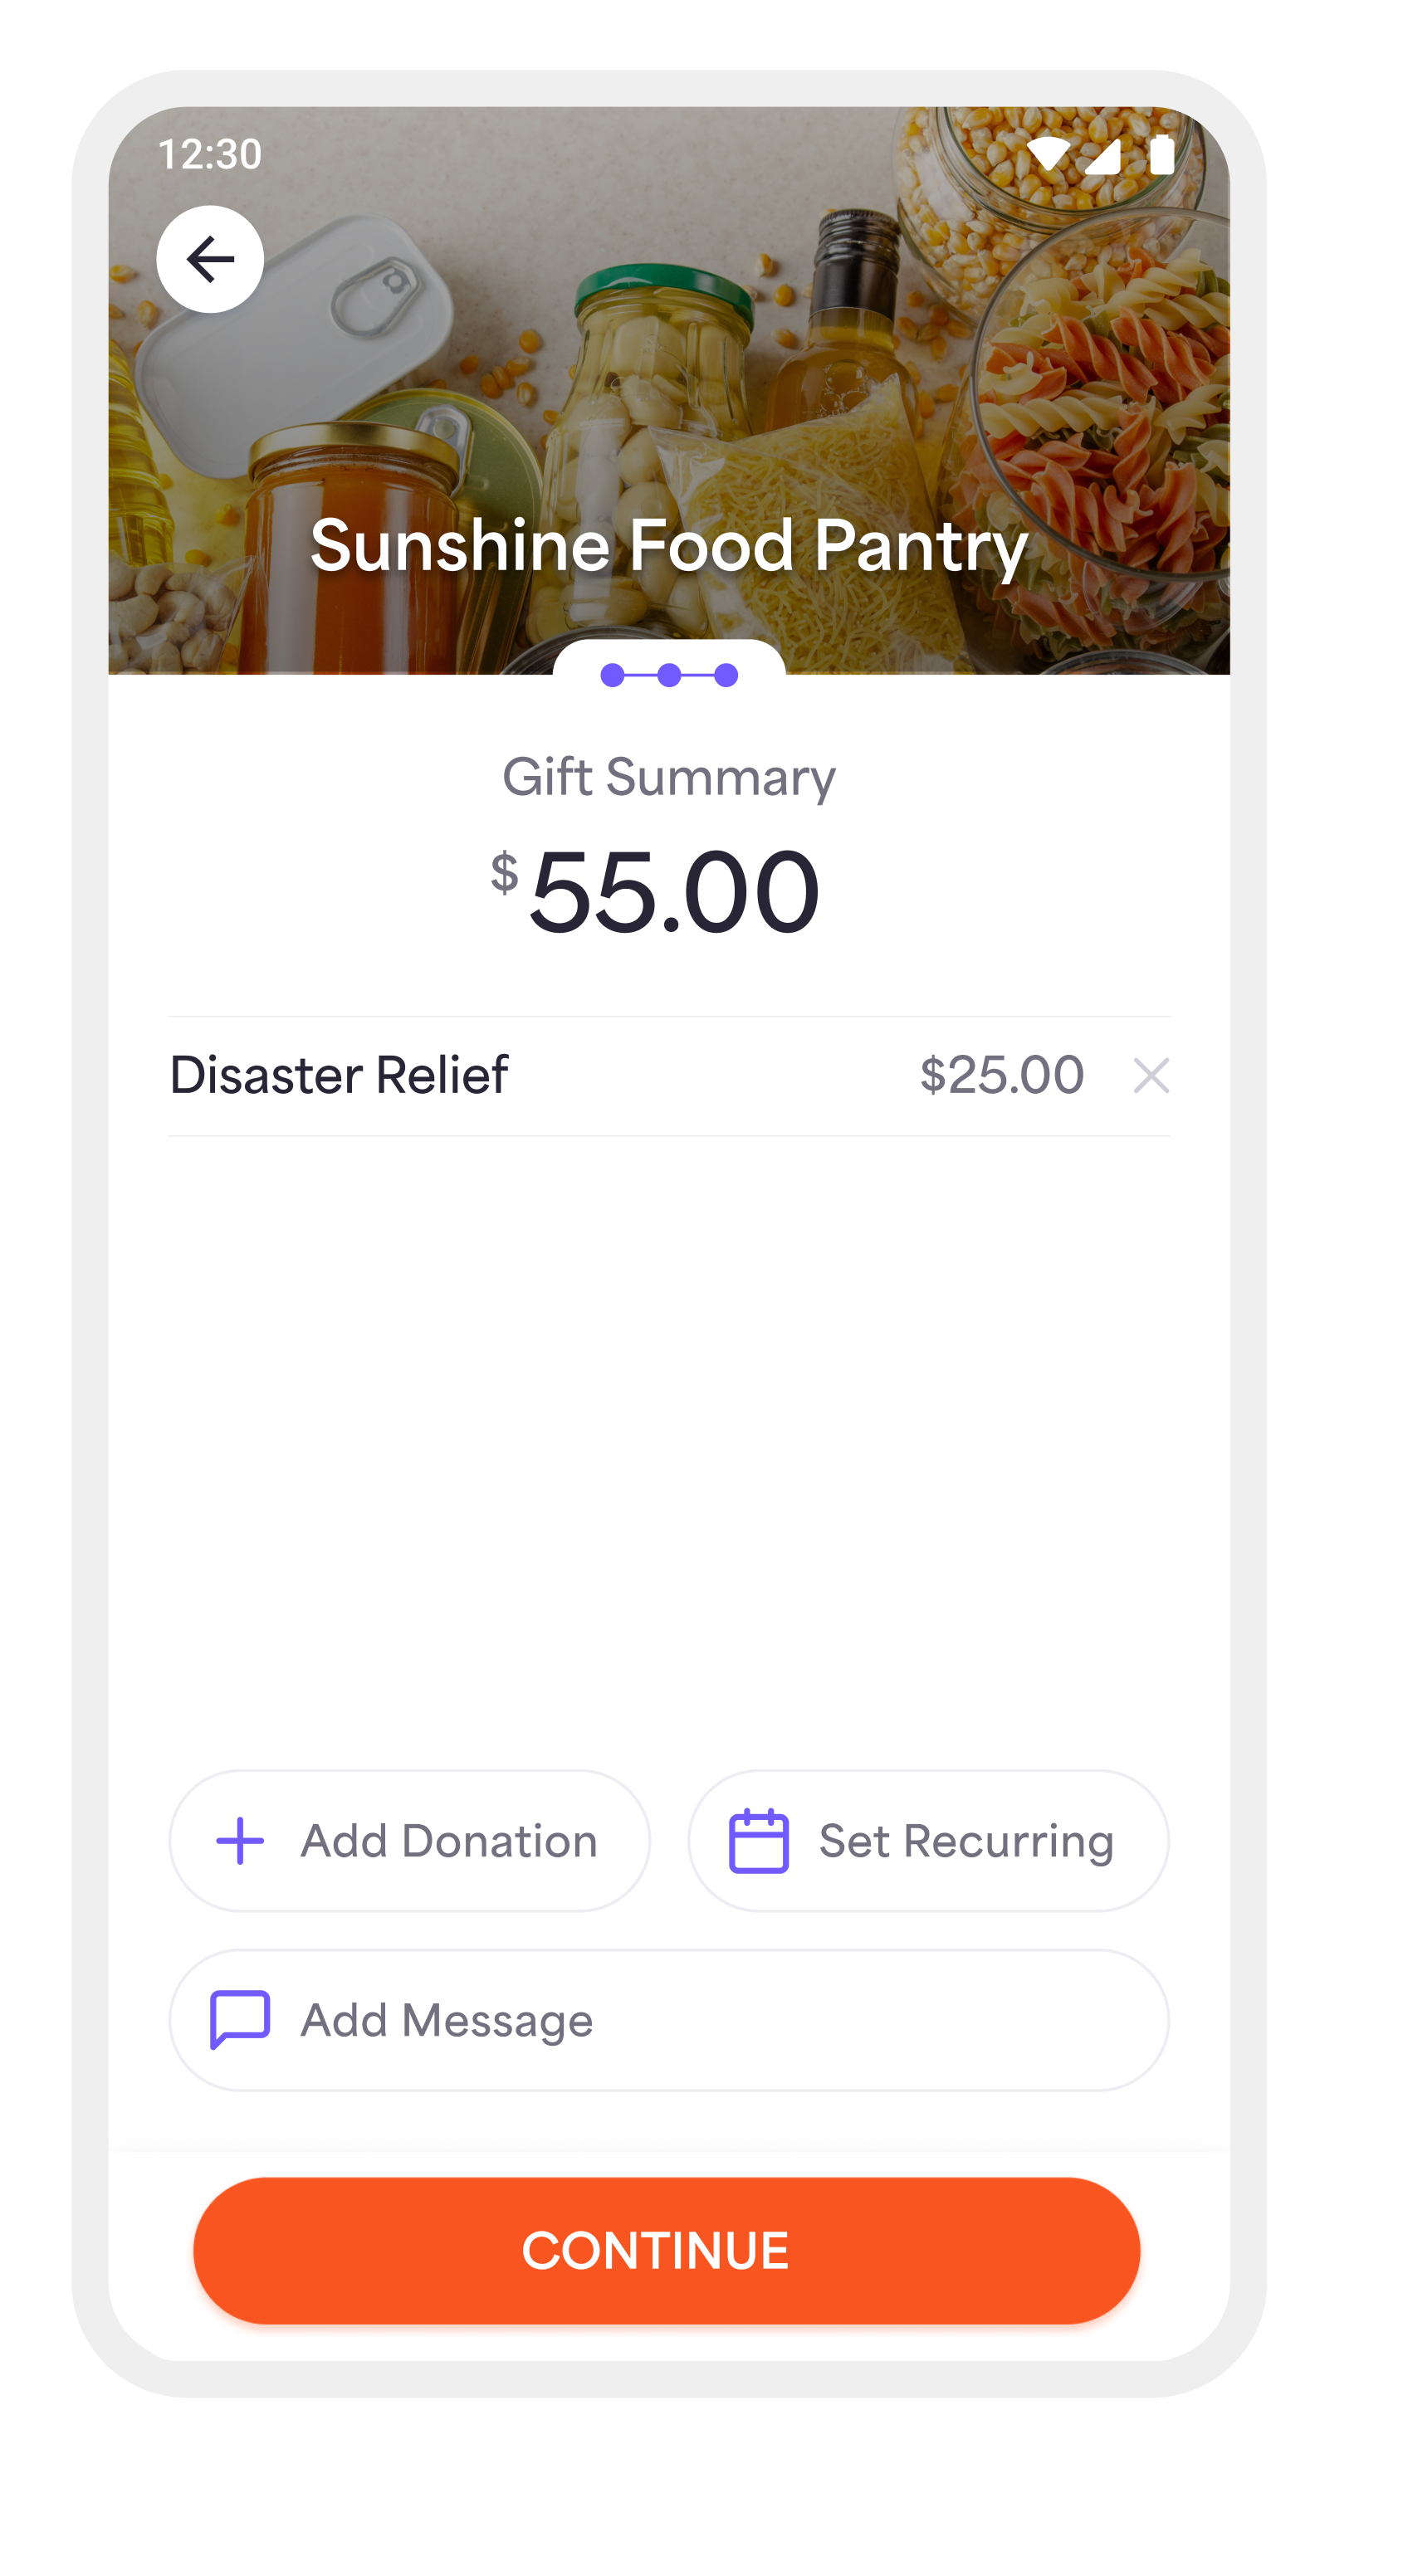
- To contribute toward another campaign, tap Add Donation, select a donation amount, then select a campaign. For instance, you can make contributions to your nonprofit’s “Where Needed Most” and “Disaster Relief” campaigns in the same donation. The gift summary screen will update with the additional contribution.
- To set the donation as recurring, tap Set Recurring and choose how often you’d like to send the donation. Recurring donations will be automatically withdrawn with the designated payment method.
- To include a message with your donation to your nonprofit, tap Add Message. You can choose from pre-set messages like “In memory of” or “In honor of” or write a personalized message of your own. Tap Done.
4. Tap Continue.
5. Because this is the first time sending a donation on Givelify, you will receive a pop-up screen asking you to create an account.
Create your Givelify account
Create a Givelify account to complete your first donation.
1. On the pop-up screen, select the desired login method you’ll use to sign into your account:
- Continue with Facebook – Use your Facebook login information to sign in and access your account. Select Next.
- Continue with Apple ID - For iOS devices only. Use your Apple ID login information to sign in and access your account. Select Next.
- Continue with Email – Use your email and create a password to sign in and access your account. Select Next.
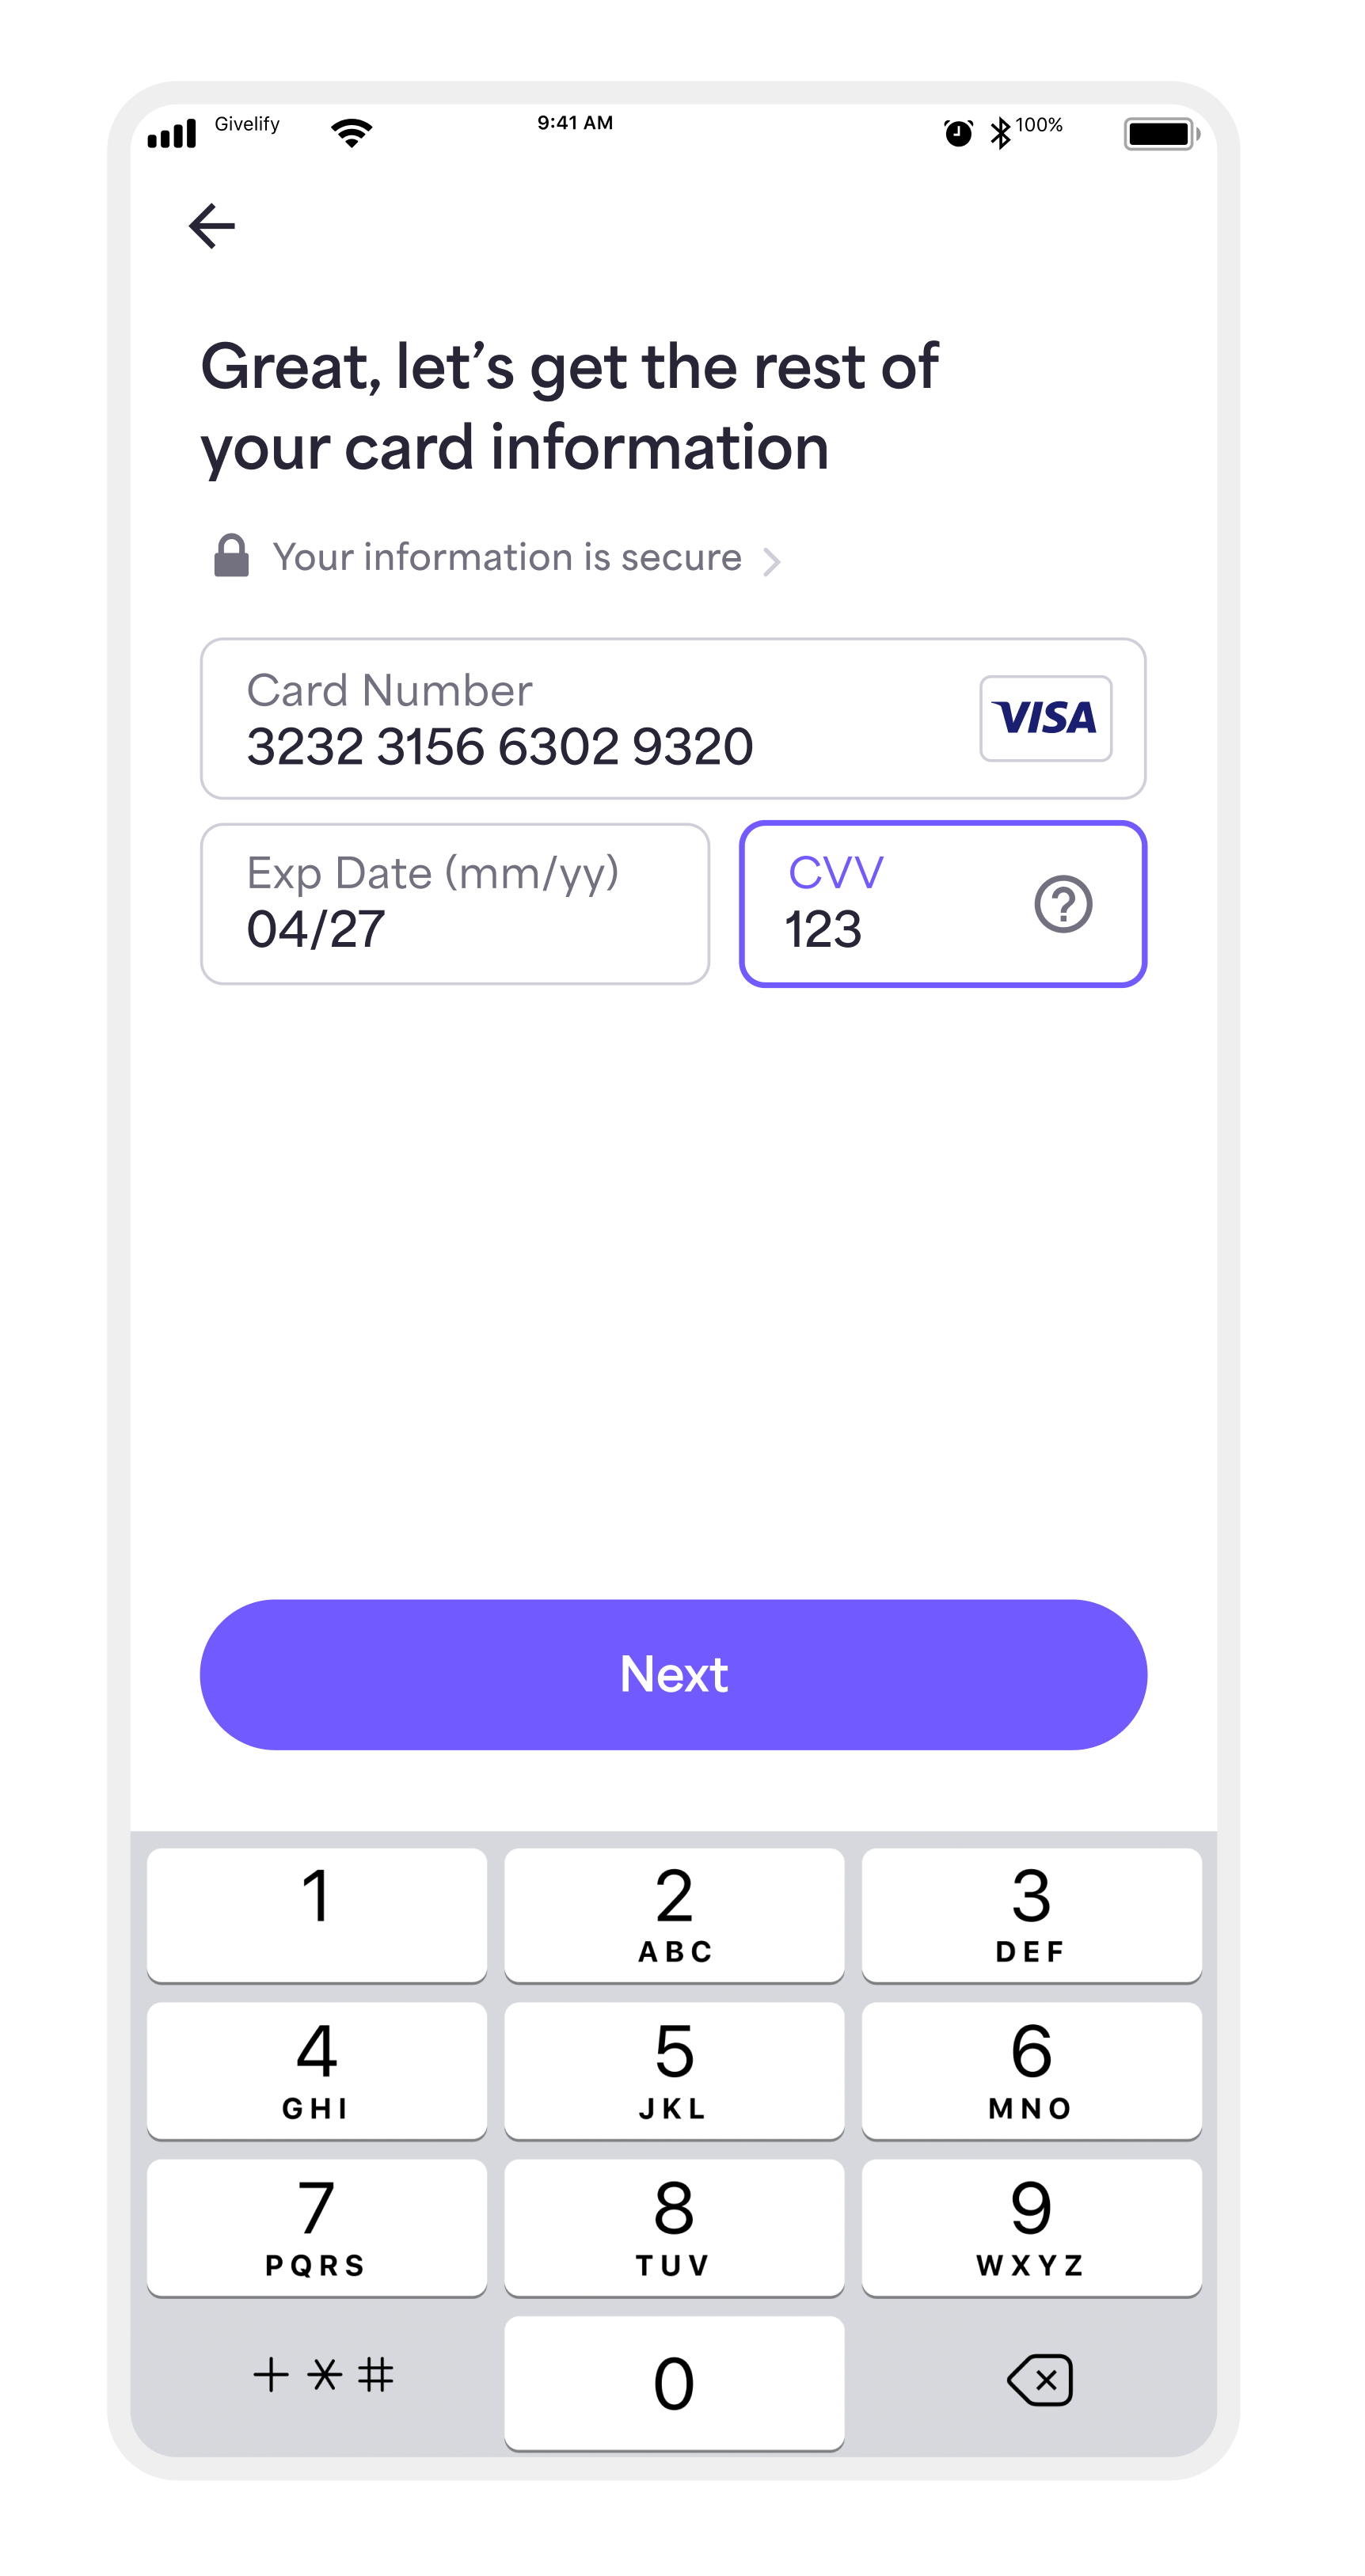
Add your payment information
Now that you've created an account, you can add your payment information to complete your donation.
1. Enter the name associated with your credit or debit card and select Next.
2. Enter your credit or debit card information and select Next. This information will be securely saved in your profile under Wallet.
3. Enter the billing address associated with your card and select Next.
4. If you're signing up with email, create a password for your account and select Next.
5. Tap the Give Now button.
6. If you set up your account using an email and password, an activation link will be sent to your email address. Click the link to activate your account.
7. You can complete your first donation without clicking the activation link. If you sign up using a Facebook or Apple ID login, you will not receive an activation link.
Congratulations! You’ve successfully made a test donation to your nonprofit using Givelify. You should see your test donation deposited to your organization’s bank account the next business day.


