In this section of the Analytics Studio, you’ll find everything you need to customize your Givelify app profile and manage your account. Click the Settings tab at the bottom left of your screen to get started.
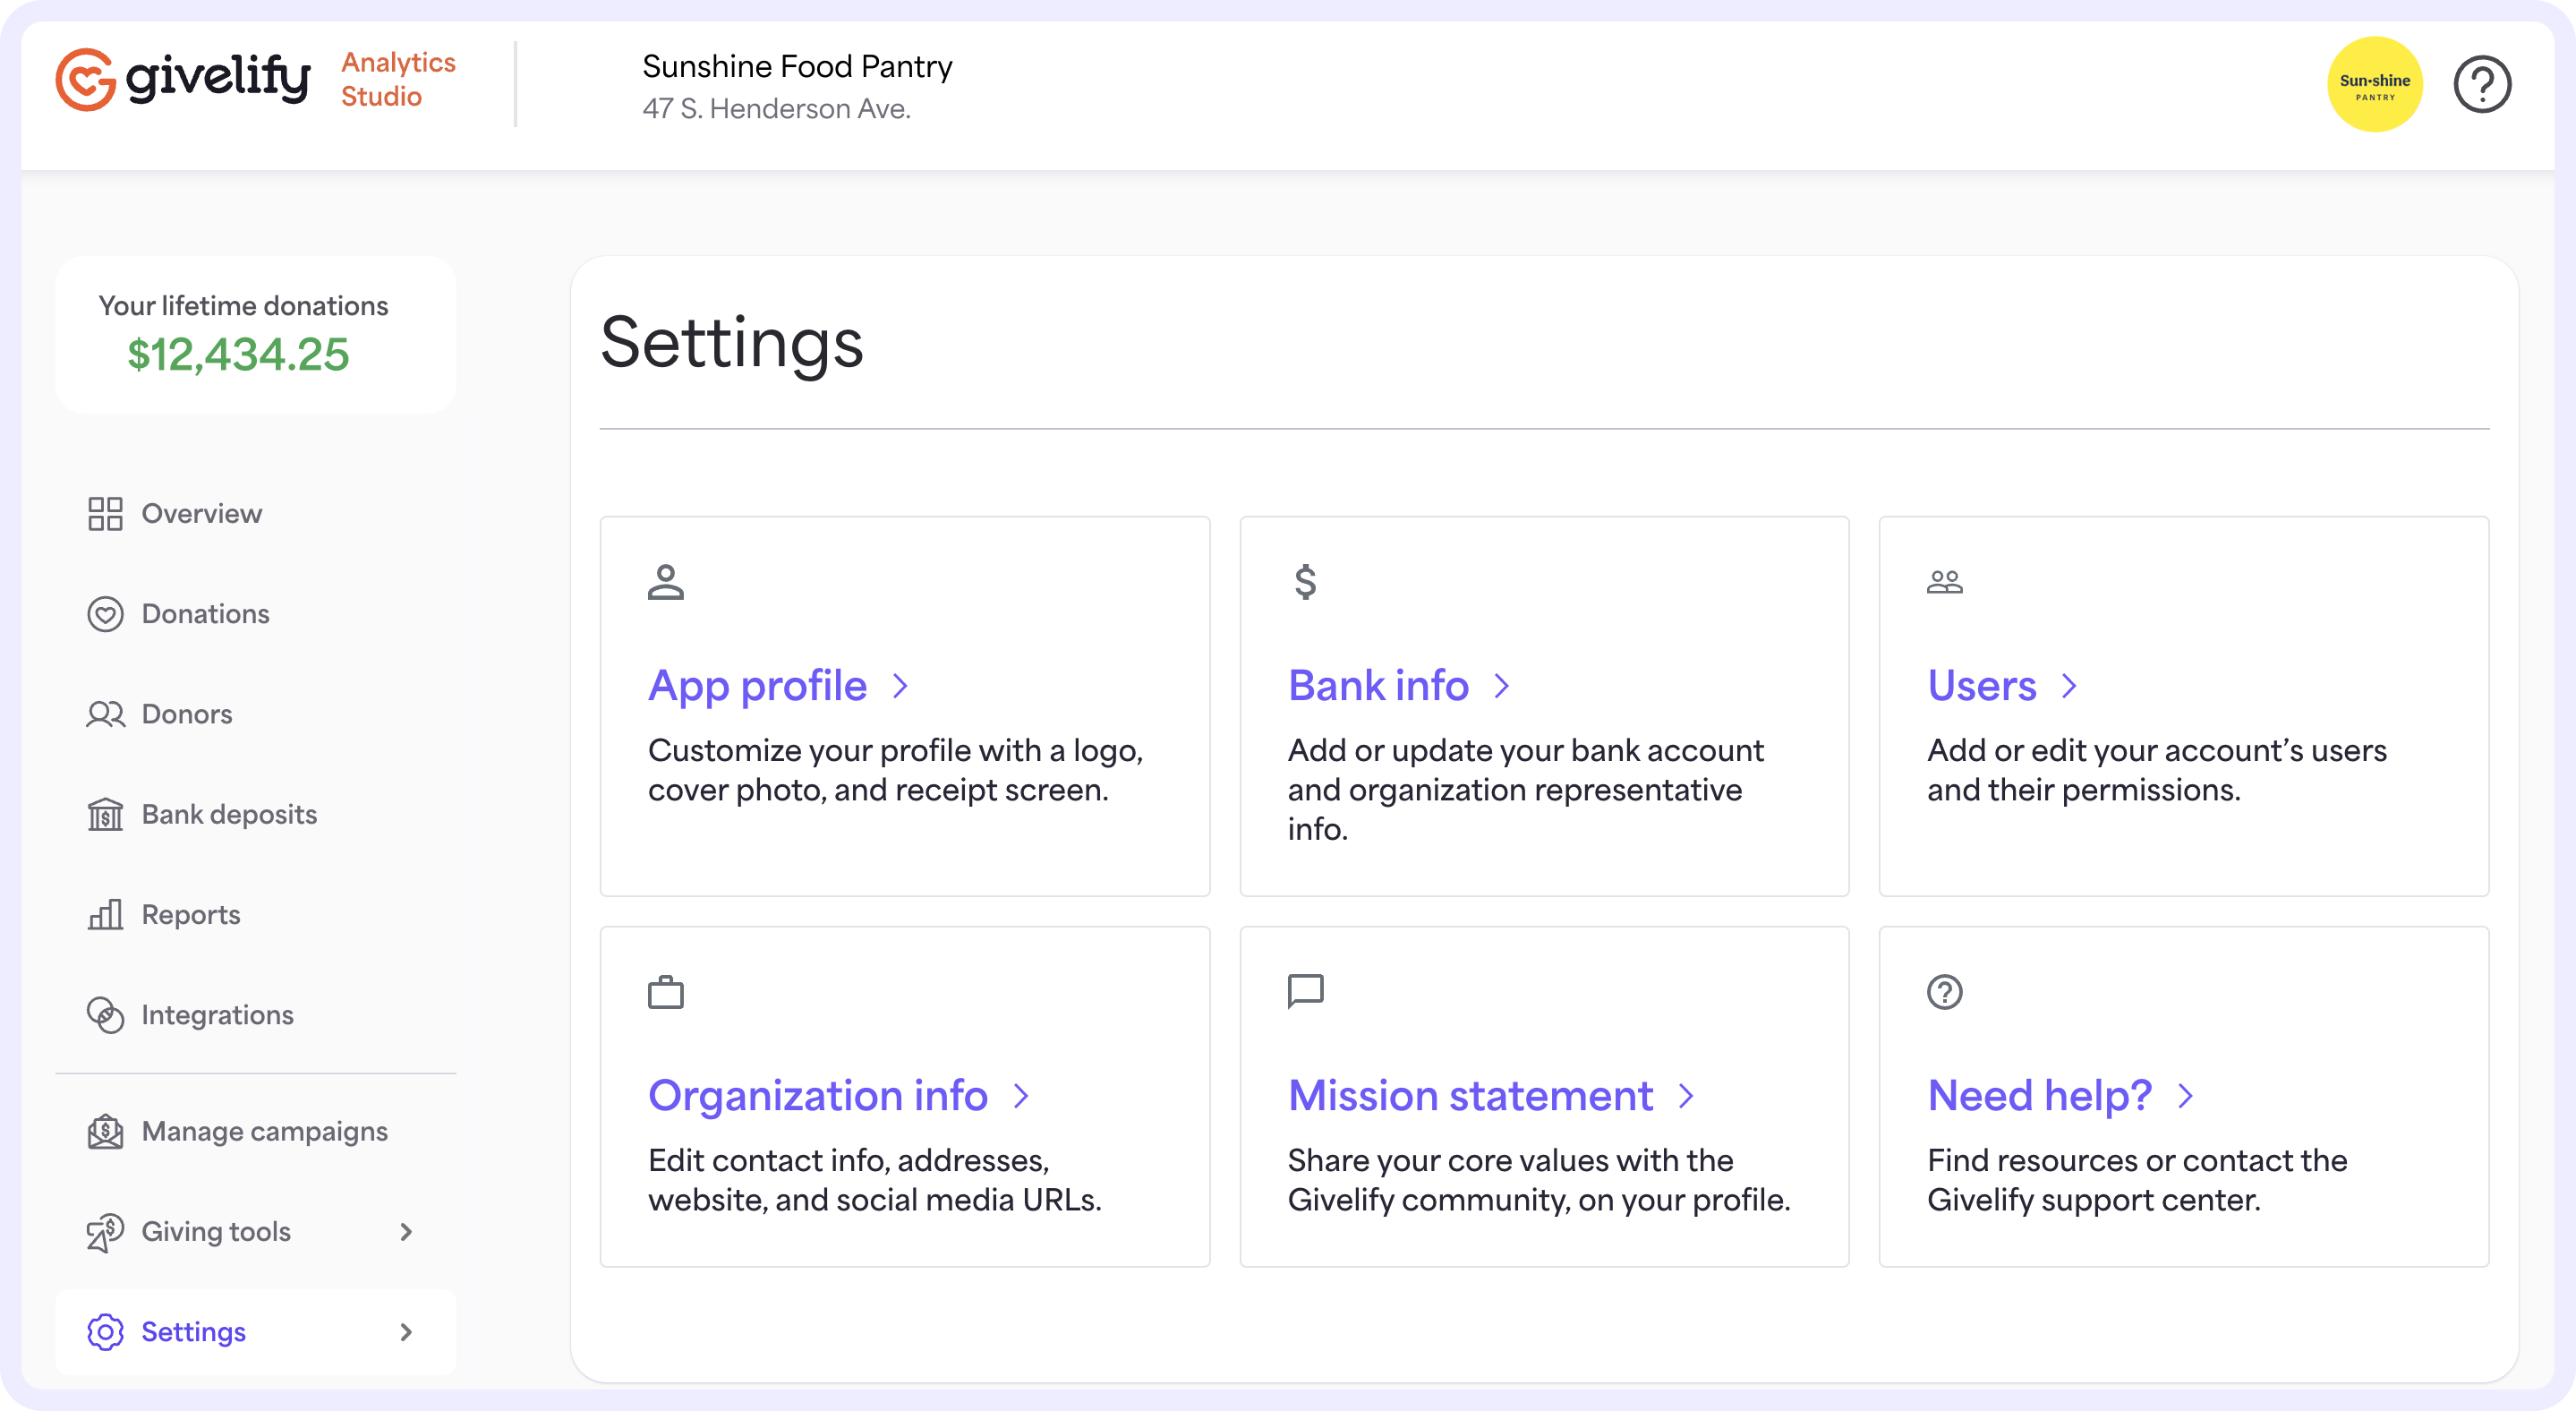
On the Settings page, you can choose from the following options: App profile, Bank info, Users, Organization info, and Mission statement.
App profile
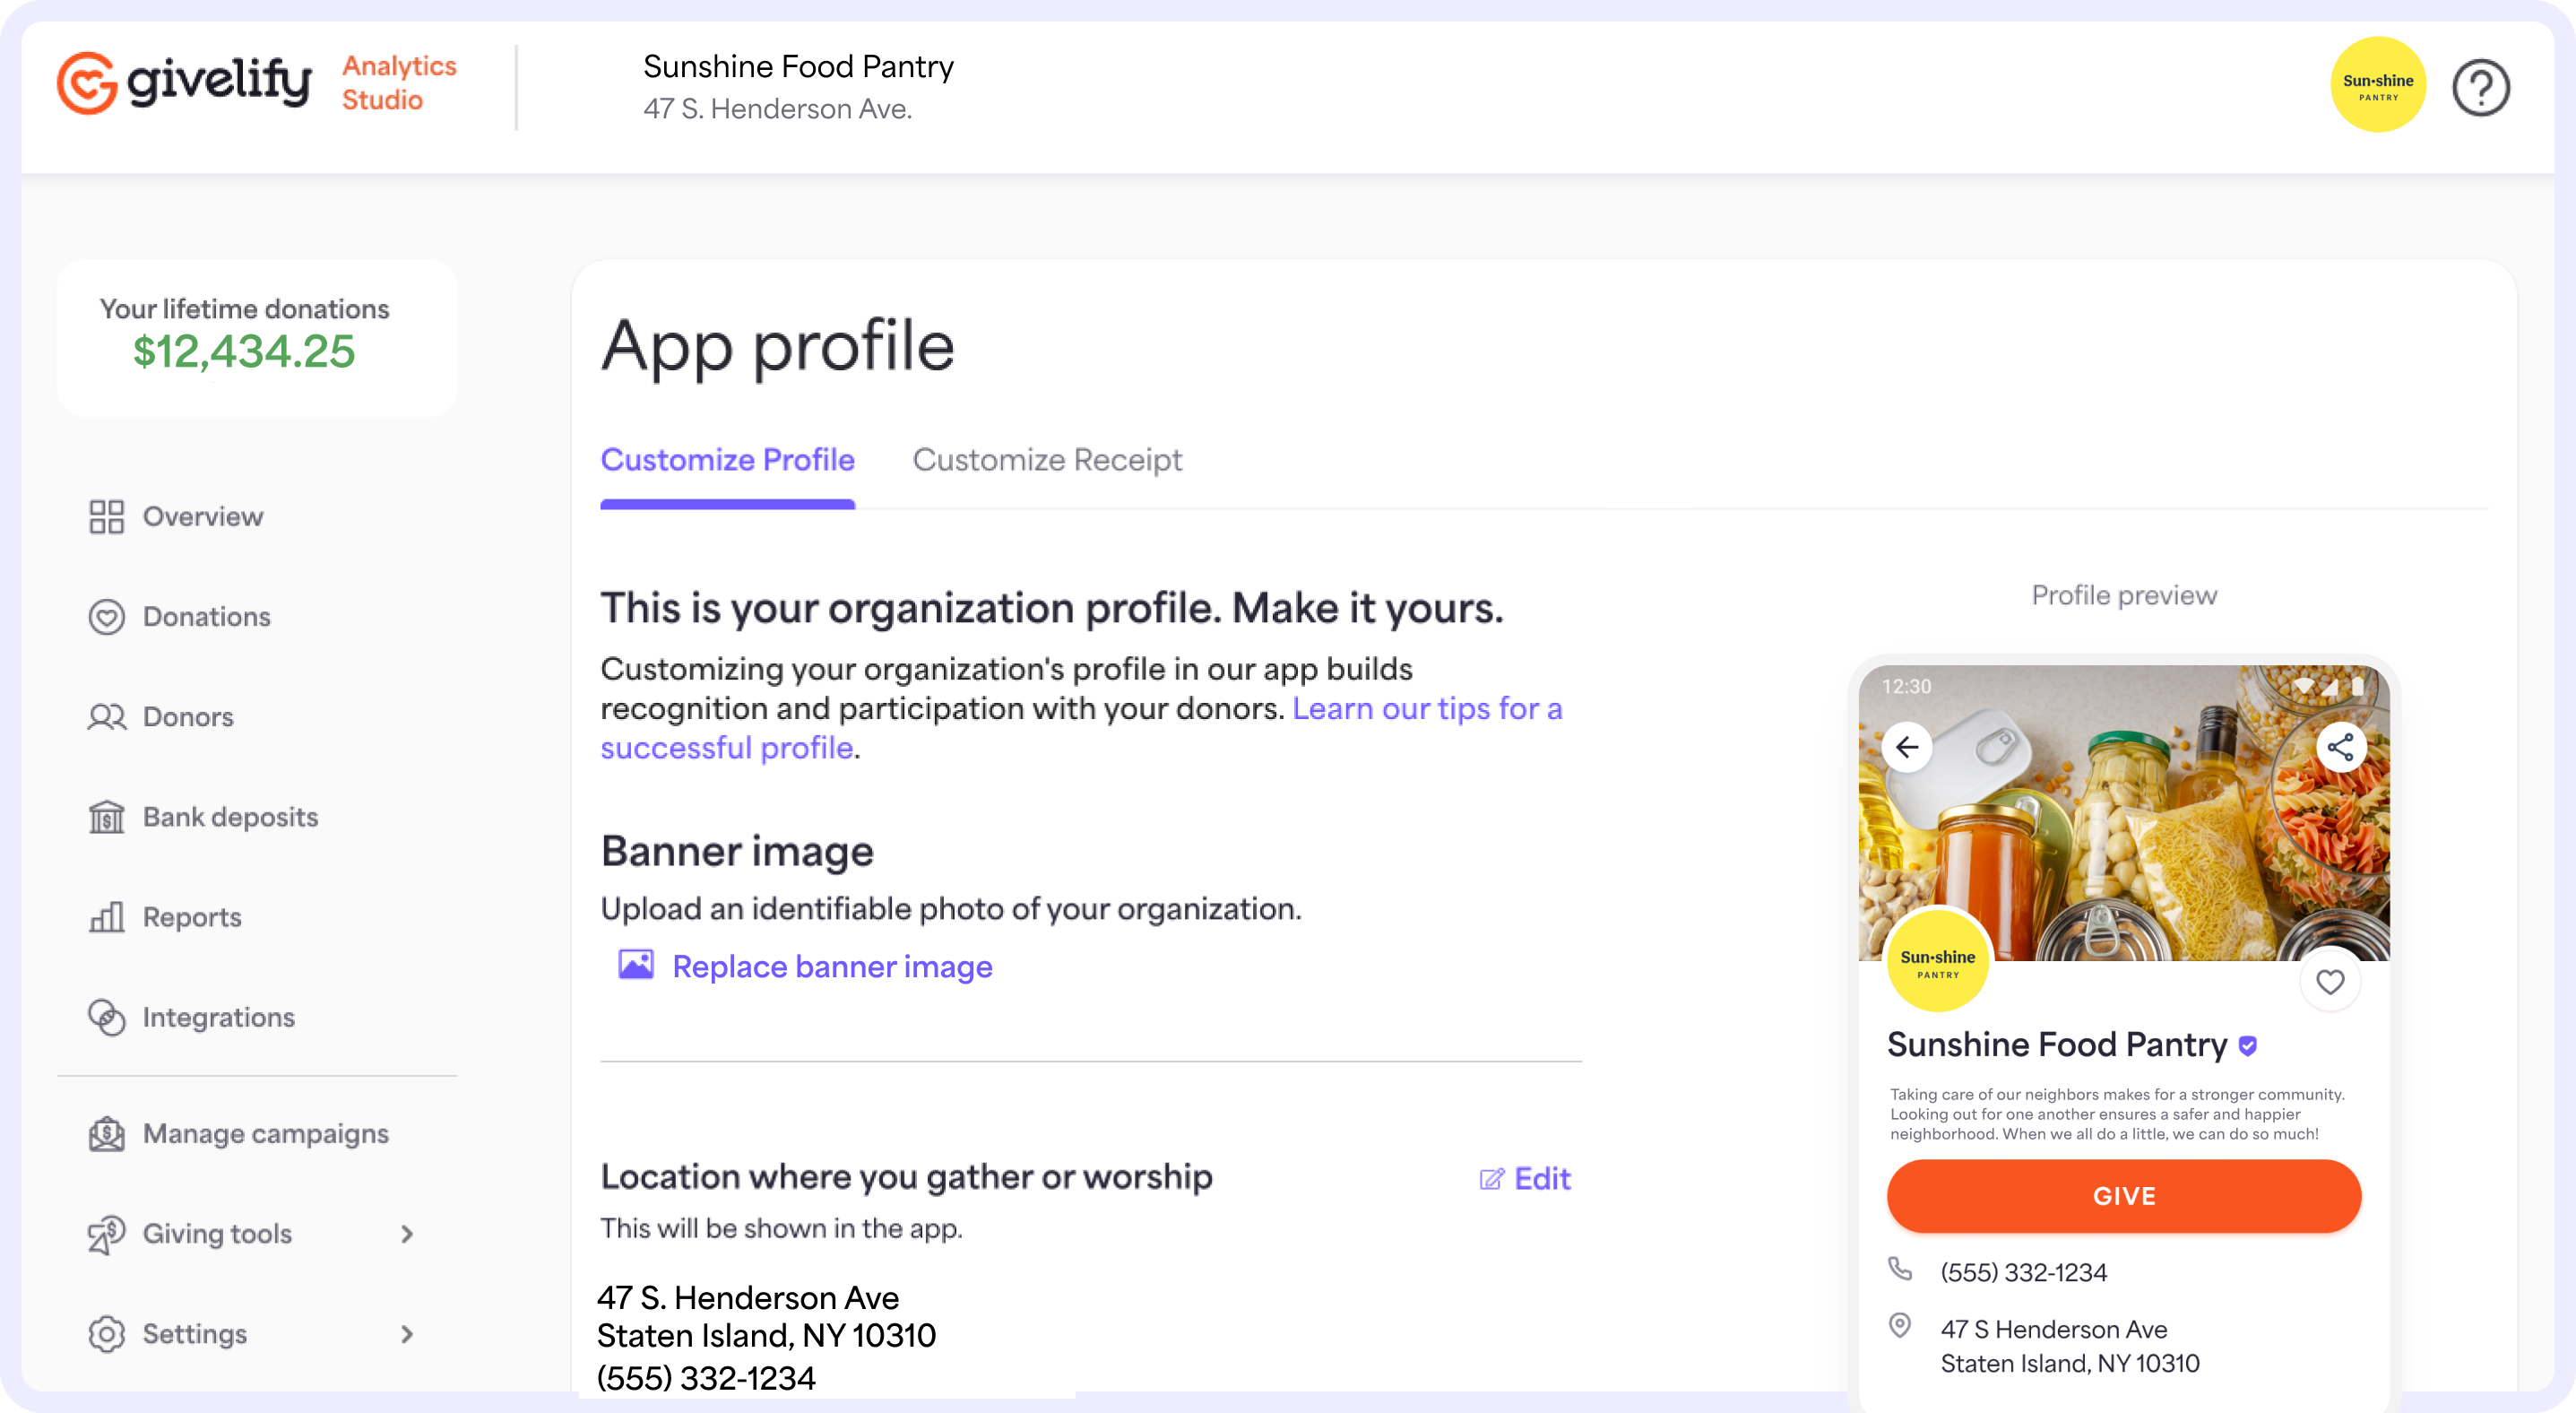
On the App profile page, you can customize your app profile and receipt screens so donors recognize your nonprofit and feel confident they are donating to the right organization.
Under the Customize Profile tab, you can add images to your Givelify app profile, including a banner image and your organization’s logo. Learn more about customizing your giving app profile.
On the Customize Receipt tab, you can customize your receipt screen by choosing whether to allow donors to edit their member ID/campaign #.
Bank info

On the Bank info page, under the Next-day deposit tab, you can add or update the banking information you have on file with Givelify.
Under the Primary representative tab, you can also update the information for your organization’s primary rep.
Learn more about updating your organization’s banking and primary representative information.
Users
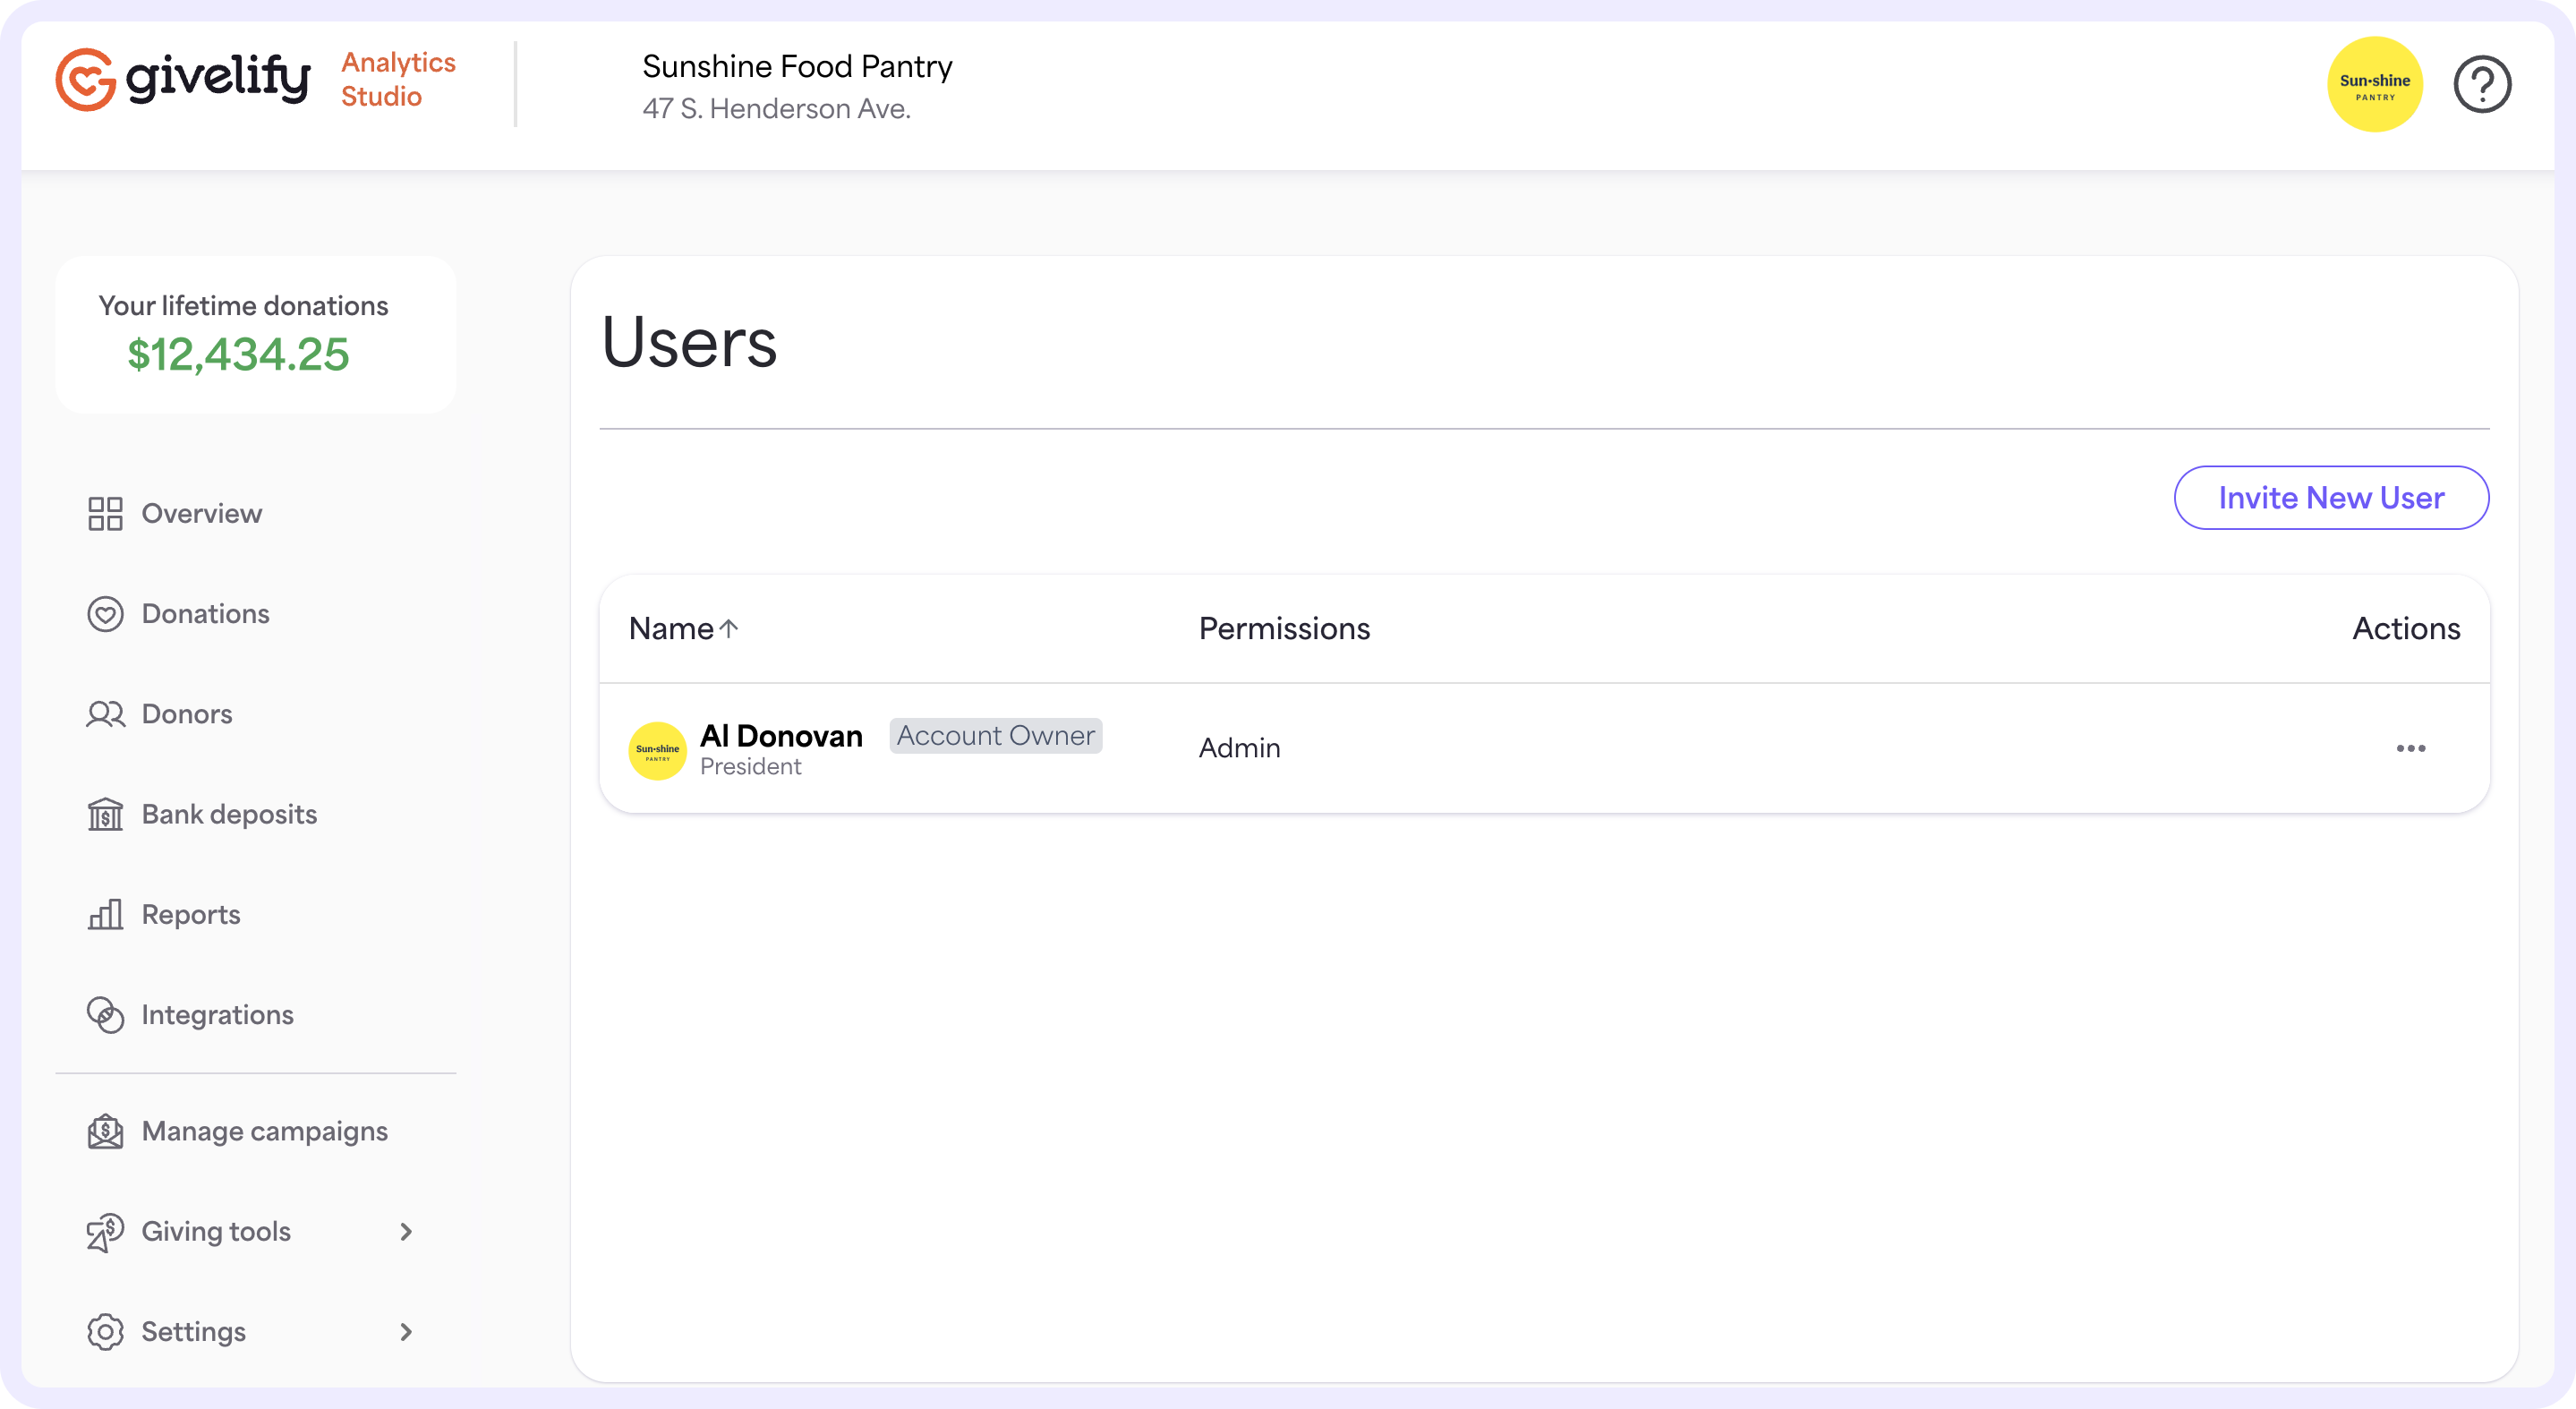
On the Users page, you can invite users to your organization’s account and manage their permissions. Learn more about adding and removing account users and setting permissions for what certain users can access.
Organization info
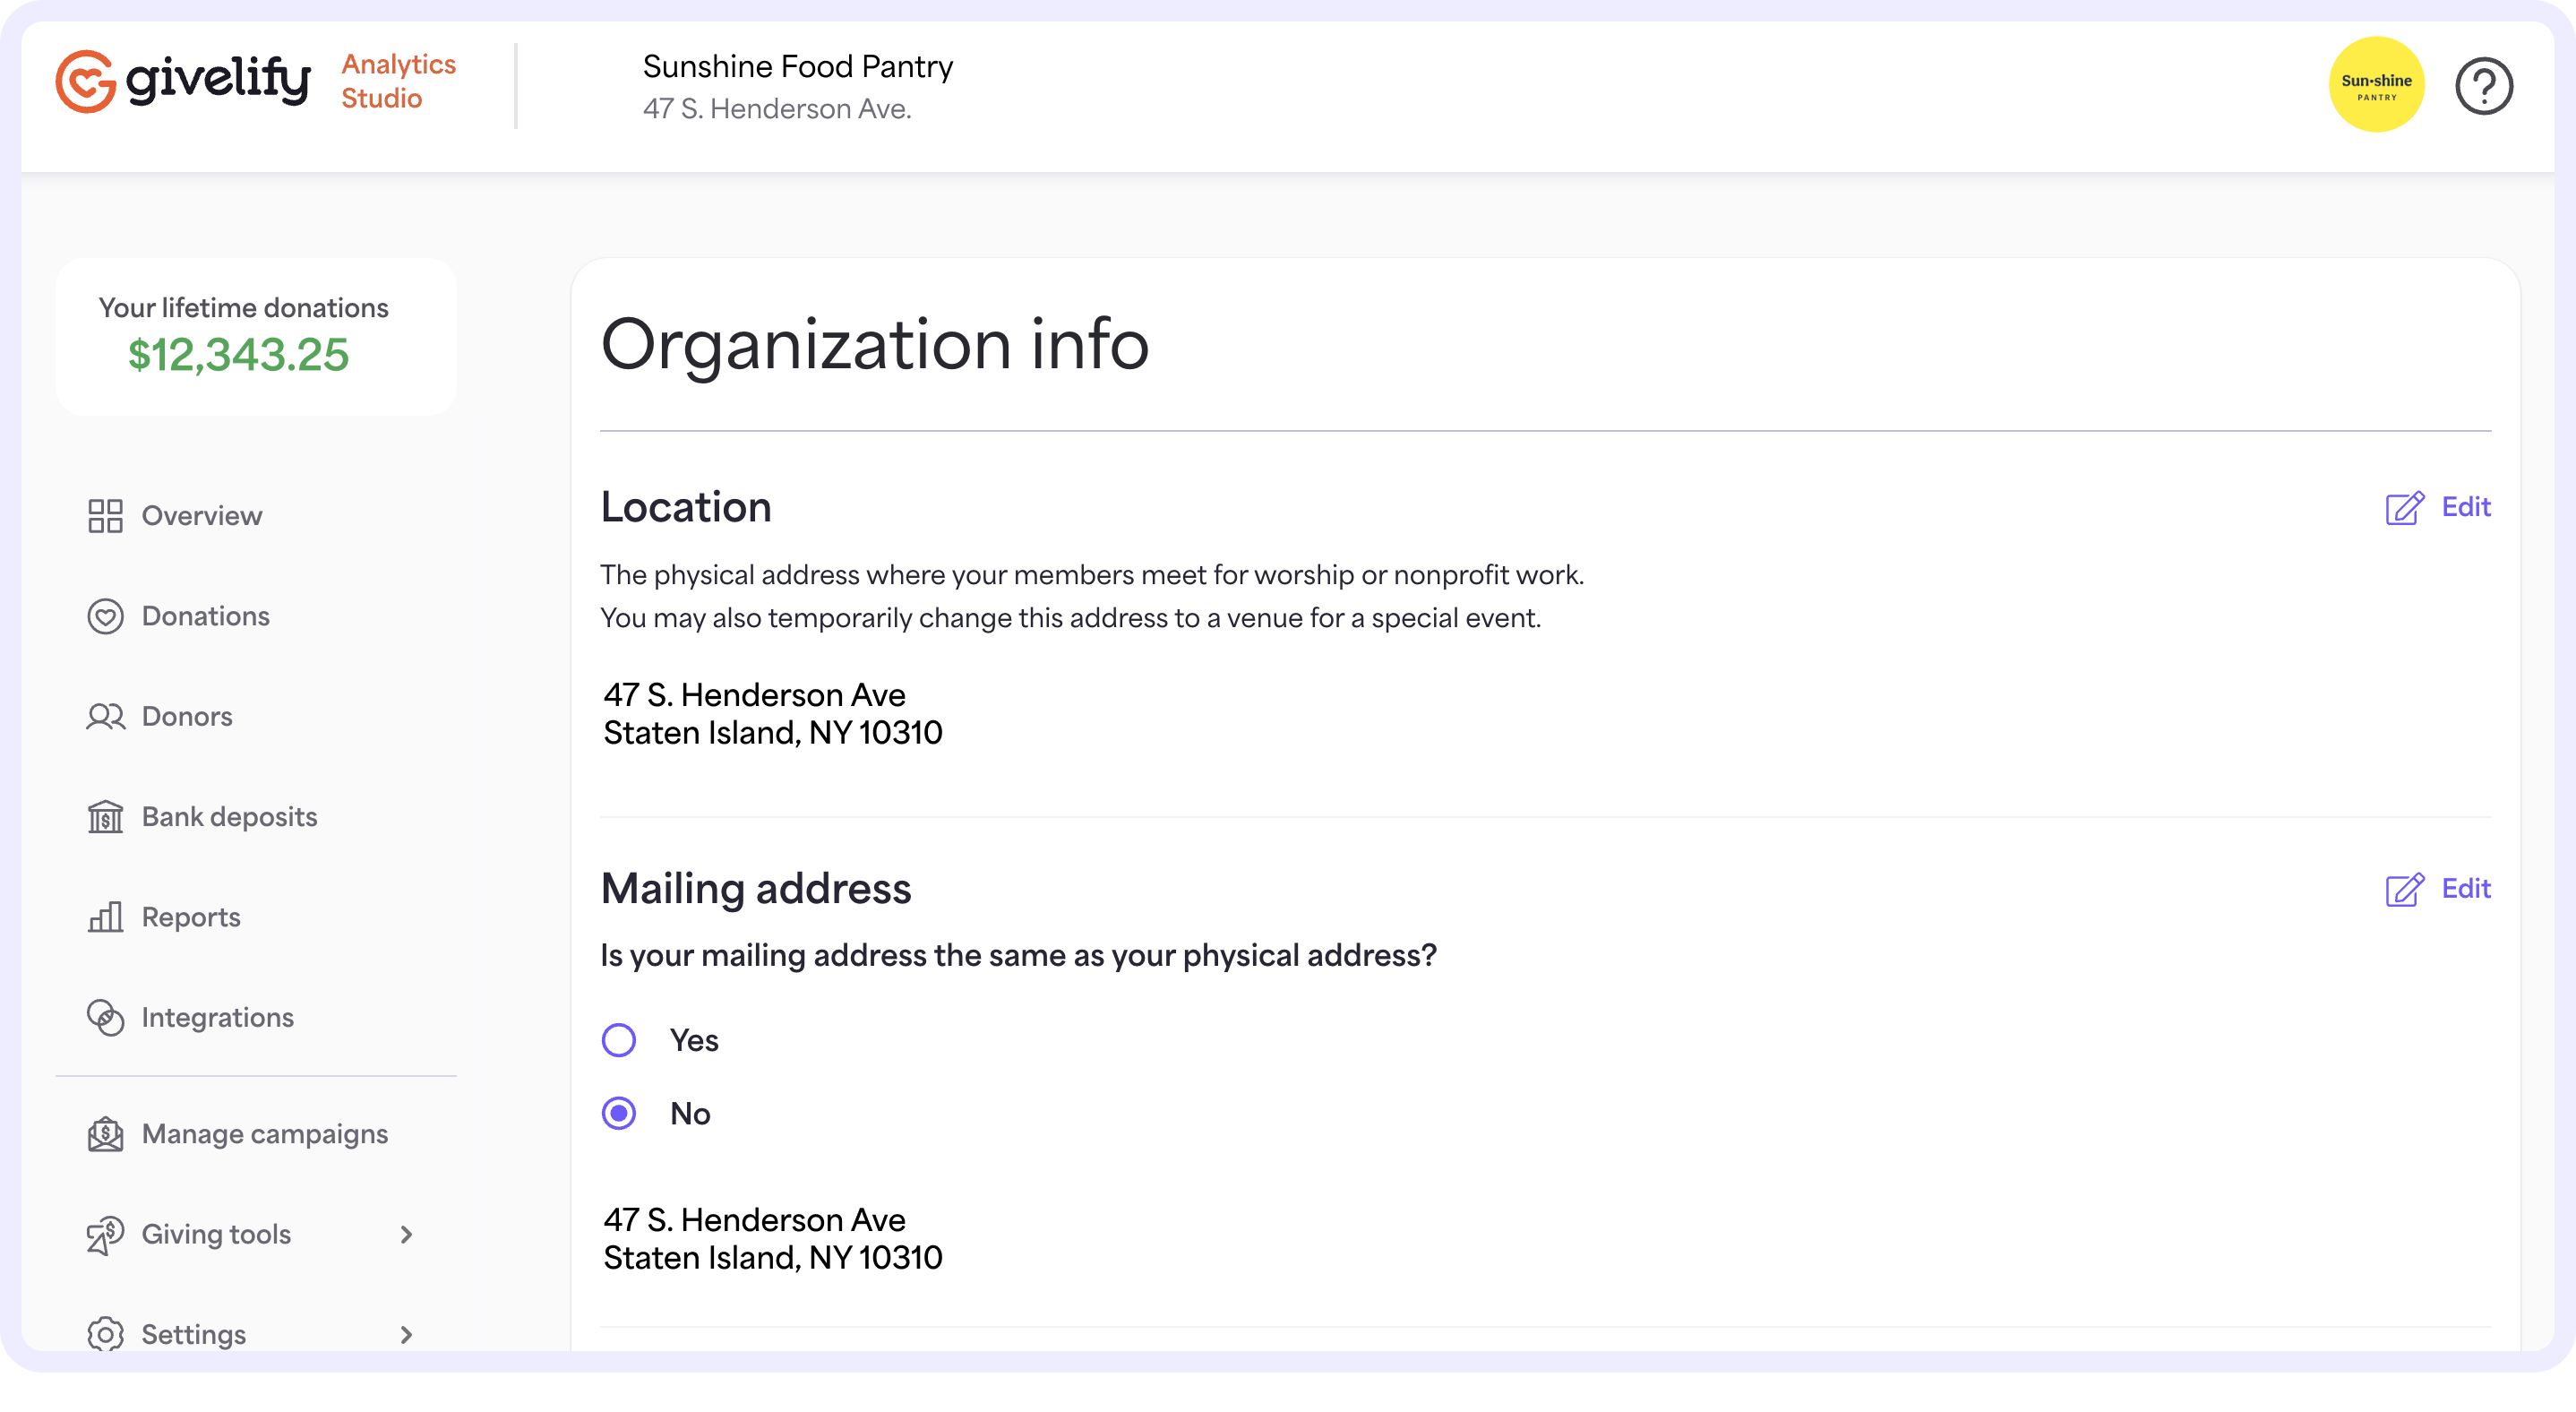
On the Organization info page, you can make changes to the information displayed on your giving app profile. This includes your organization’s physical and mailing address, contact information, and social media and website links.
Mission statement
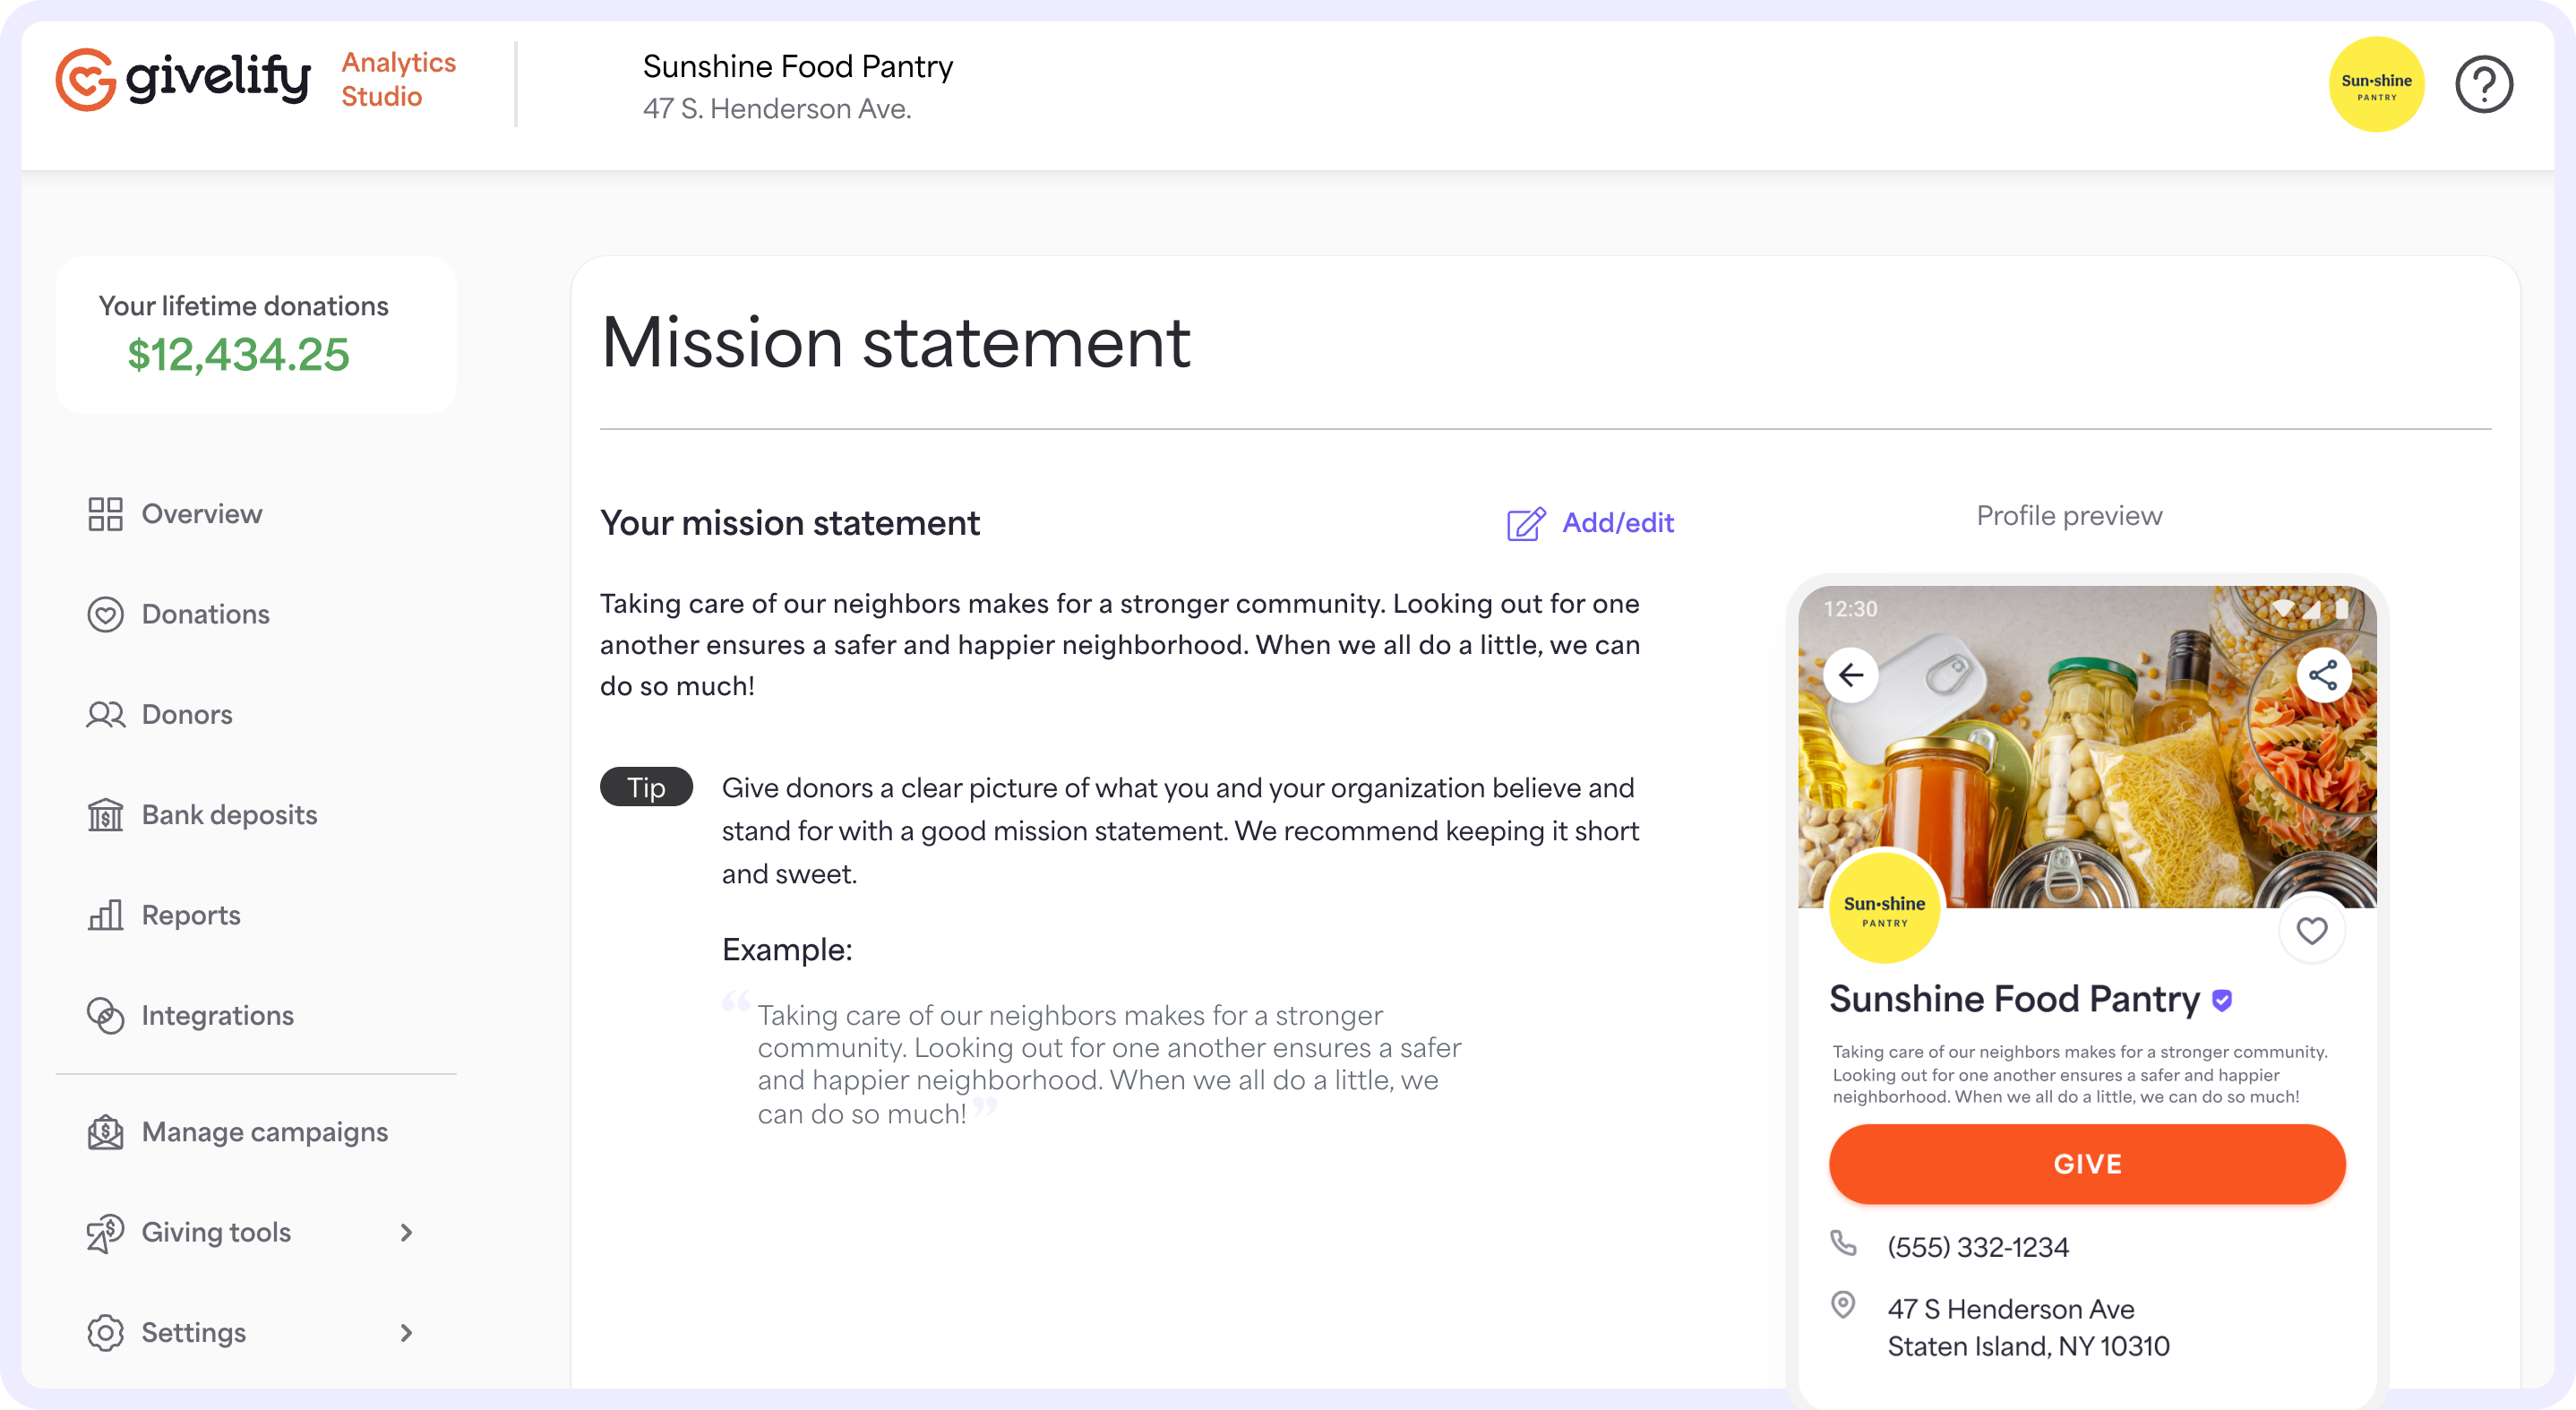
You can add your nonprofit’s mission statement to your giving app profile on the Mission statement page. Displaying this information helps your organization attract new donors on Givelify who want to support your cause.
Learn more about adding a mission statement to your app profile.


